


5 Simple Ways to Make DIY Bouquets

Updated: Apr. 24, 2020
Add some embellishments to DIY bouquets to make a few dollars worth of flowers look like a million bucks!
Valentine’s Day, Mother’s Day, birthdays, anniversaries… there are so many occasions when flowers make the perfect thoughtful gift. Florist-arranged bouquets are beautiful, but not always in everyone’s price range. Save money by buying cut flowers at the grocery store (or cutting flowers from your own garden) and make simple DIY bouquets on your own.
The trick is to add some easy embellishments you can find in your craft drawers or at the dollar store. The ideas shown here are just a few of the many options, so use your imagination. (Remember that your recipient will likely remove the embellishments to put the bouquet in a vase eventually, so don’t worry about making your decoration last forever.) These nosegay bouquets take just a few minutes to assemble, but the customized look will tell your recipient just how much you care.
Build the Bouquet
- Choose the flowers. Traditionally, nosegays (small handheld bouquets) were made from diminutive fragrant flowers. Though you can use any blooms you like, try to avoid making overly-large bouquets with extra long stems. Those are best suited for presentation in a vase or other container.
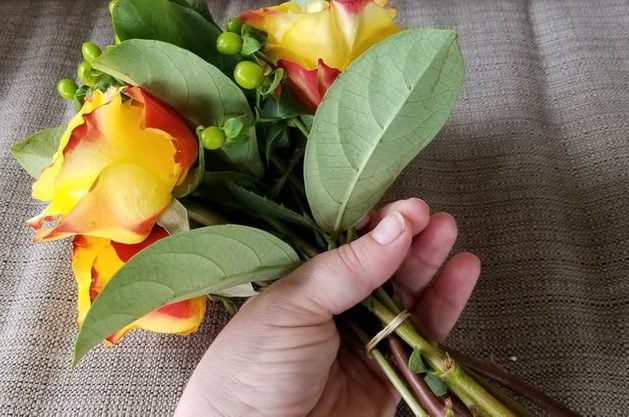
- Arrange the flowers. Remove any packaging and rubber bands (save the rubber bands, though). Lay out your flowers and strip leaves from the stems right up to the flower heads. (If using roses with thorns, trim those too.) Then, begin arranging them in one hand. This is not a formal flower arrangement; just create a bouquet that you like, one that fits comfortably in the hand.
- Secure the stems. Wrap a rubber band around the stems a few times a couple of inches down from the flowers. Add a second rubber band an inch or so below if you like. If you have floral tape on hand, you can use it instead, but it’s not necessary.
- Add embellishment. See below for embellishment ideas for DIY bouquets. Remember to wrap your embellishments firmly but take care not to break the flower stems.
- Trim the stems. Trim the stems to about an inch below the bottom of your embellishment. Use sharp scissors or a knife and trim them as close to the same length as possible. Your stems will likely be about 6 – 8 inches long.
Embellishing DIY Bouquets
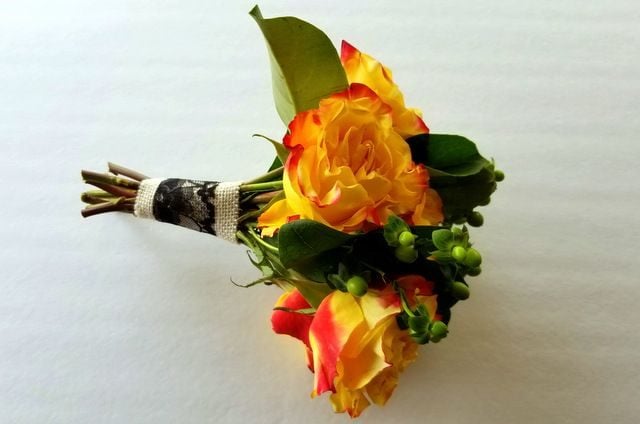
Burlap and Lace
The shabby chic look is perennially popular. Wrap burlap ribbon twice around the stems and secure in back using pearl-headed pins. Cut a length of lace just long enough to slightly overlap at the back, wrap around, and secure with another pin.

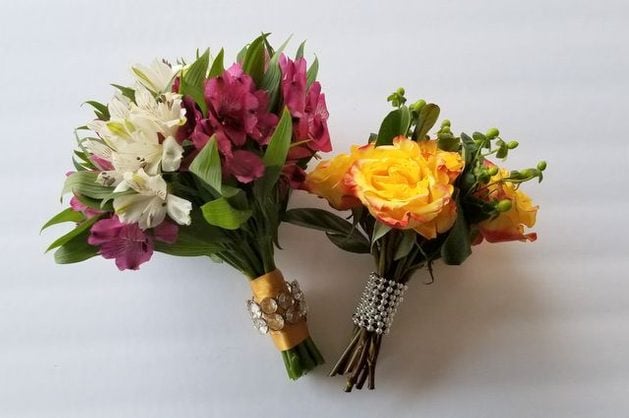
Ribbon and Napkin Ring
Napkin rings come in endless designs, so it should be easy to find one you like. Tuck one end of the ribbon under the rubber band, and wrap it smoothly and evenly around the stems. Secure the other end by tucking into under the wrapped ribbon. Slide the napkin ring over the ribbon-wrapped stem.
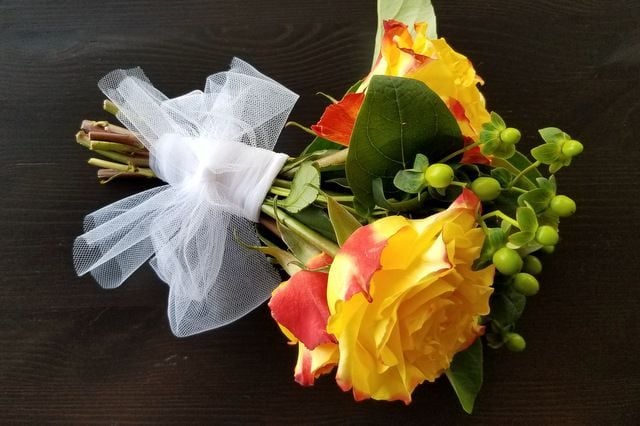
Tulle
Tulle ribbon adds a romantic dash to any bouquet. Cut a long piece of tulle and wrap it around multiple times. Finish with a bow and fluff the tulle.
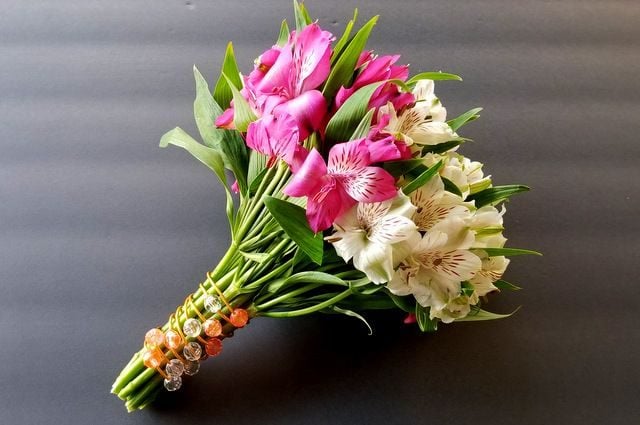
Wire and Beads
Wrap thick-gauge wire around the stems, adding crystal beads as you go. Tuck any sharp wire ends in to avoid injury. Since the stems will likely show through, trim the rubber bands away once the wire is in place.
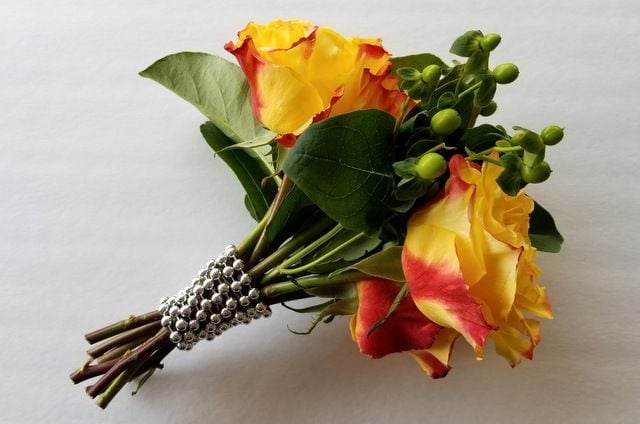
Plastic Bead Strings
Finally, another use for those Mardi Gras bead strings! Wrap the beads around the stem, tucking the starting end under as you go. Secure the other end using wire or a small twist tie and tuck out of the way.
Originally Published: January 25, 2018