
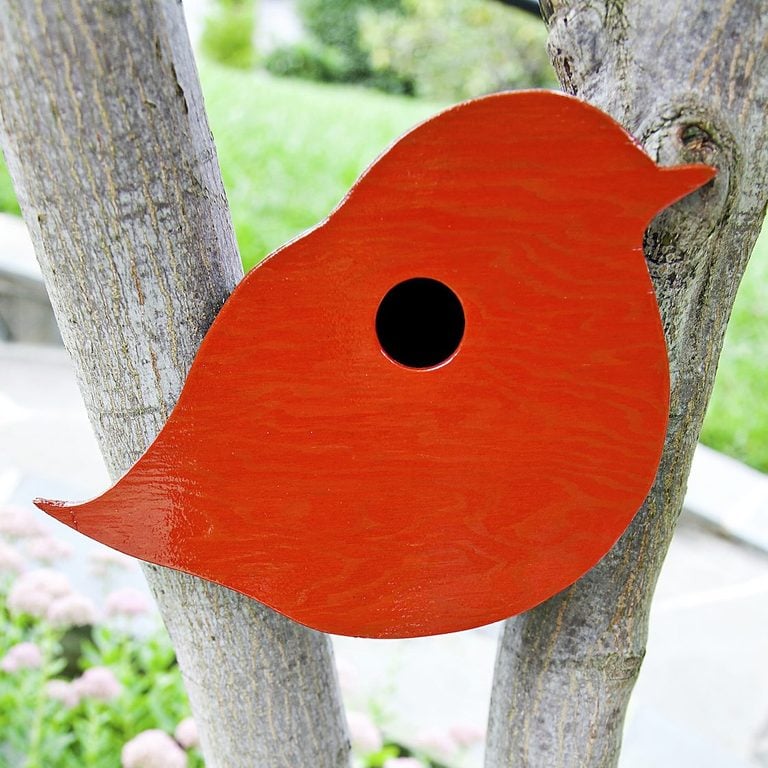
Make an Adorable Bird-Shaped Birdhouse
This DIY bird-shaped birdhouse is too cute! Start with a nest box that matches the approximate size needed, or make one yourself.
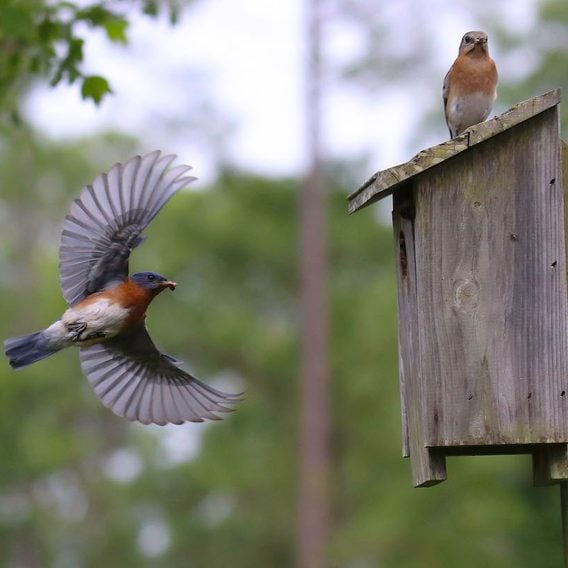
How to Make a DIY Bluebird House
Want to attract bluebirds to nest in your yard? Make a bluebird box! These DIY bluebird house plans meet the...
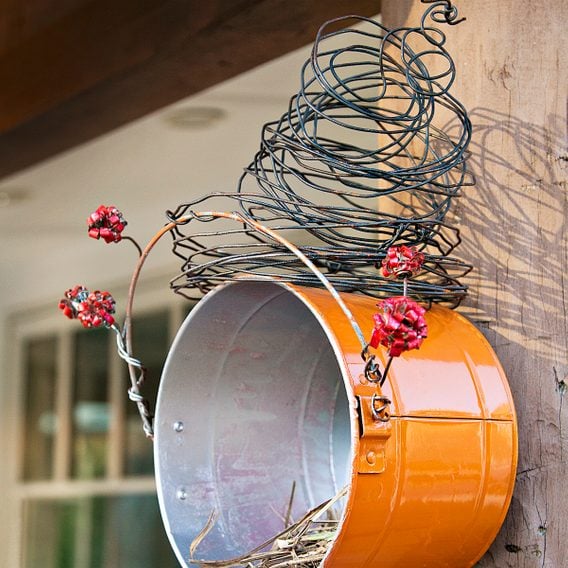
How to Make a Coffee Can Birdhouse
Build a DIY coffee can birdhouse with this simple recycled crafts project that will benefit your favorite nesting birds.
How to Make DIY Nesting Shelves for Birds
Interested in attracting cardinals or robins to nest in your yard? This recycled crafts project creates nesting shelves for these...
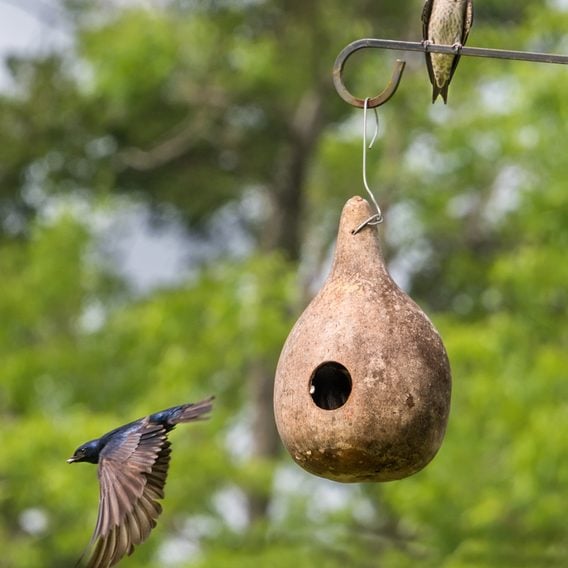
How to Make a Purple Martin Gourd House
DIY birdhouses fashioned from gourds have been used for centuries to attract purple martins. Learn how to make a purple...
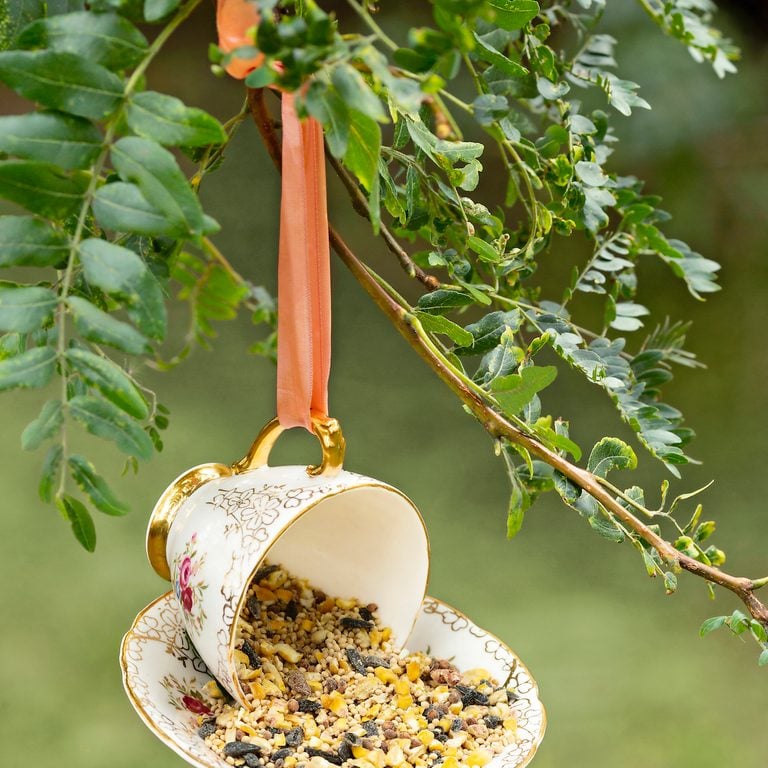
How to Make a DIY Birdfeeder and Bird House with Vintage China
Offer this season’s avian arrivals a warm welcome to your yard with a teacup birdfeeder and a teapot bird house.
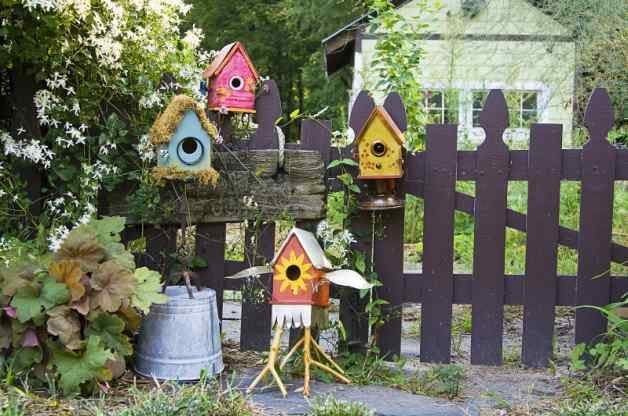
Stylish DIY Birdhouse Designs
Using a simple kit, learn how to make a birdhouse unique. These DIY birdhouse designs are bird-friendly but full of...
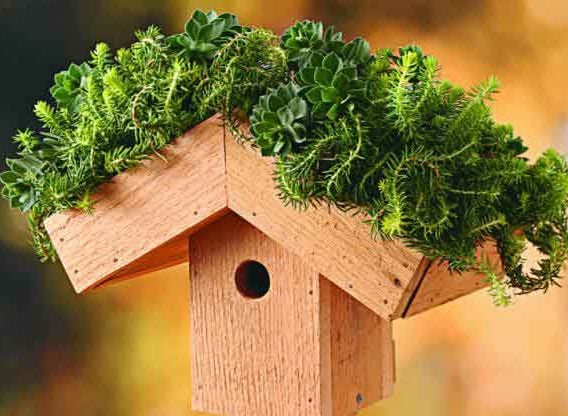
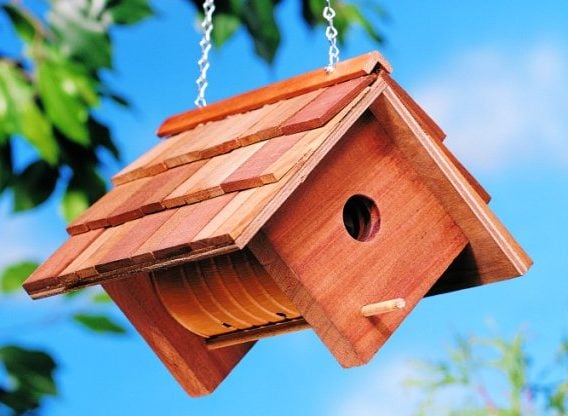
Green Roof DIY Birdhouse
This DIY birdhouse project incorporates the green roof concept, helping to keep the birds inside cooler in the summer heat.
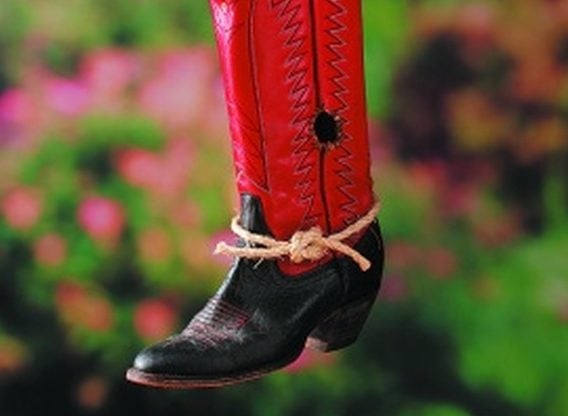
Cowboy Boot Birdhouse
Little birds like wrens will love this DIY birdhouse made from an old cowboy boot!
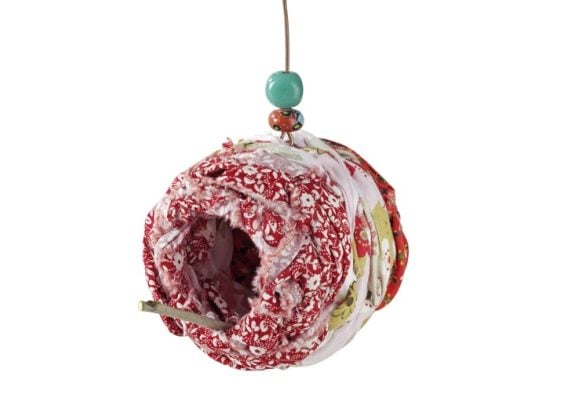
Cloth DIY Birdhouse
Learn how to make a birdhouse out of cloth for small birds like wrens and chickadees.
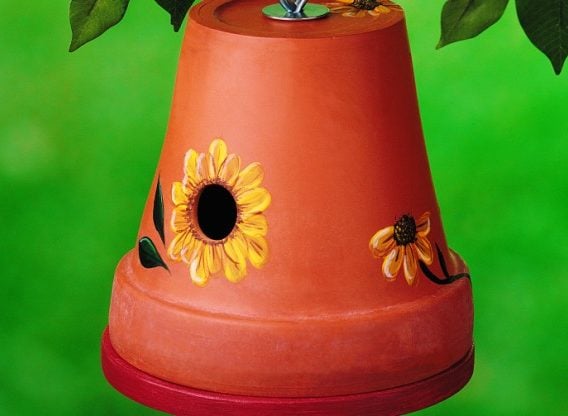
Clay Pot DIY Birdhouse
Learn how to make a DIY birdhouse perfect for wrens and other small birds using a clay flower pot.
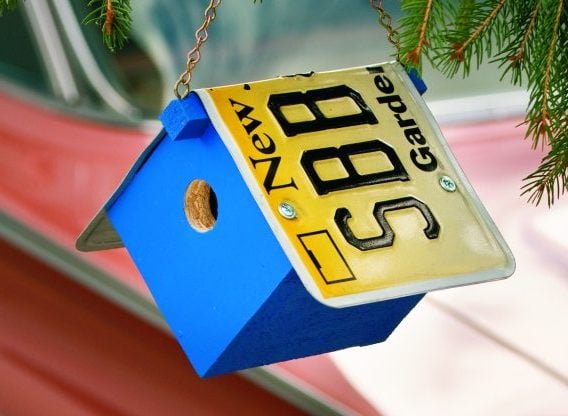
Build a License Plate Birdhouse
Personalize a DIY birdhouse with an old license plate, and you’ll have a real one-of-a-kind place for birds to call...
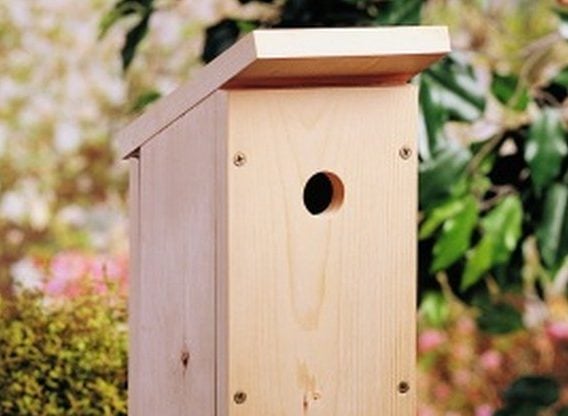
Build a One-Board DIY Birdhouse
A DIY birdhouse doesn’t get any easier than this! Learn how to build a nest box from single pine board.
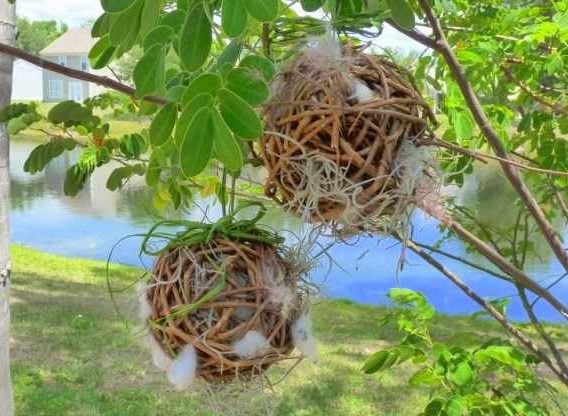
DIY Grapevine Balls for Nesting Birds
Nesting birds use a variety of materials to create the perfect place to lay their eggs. You can help attract...
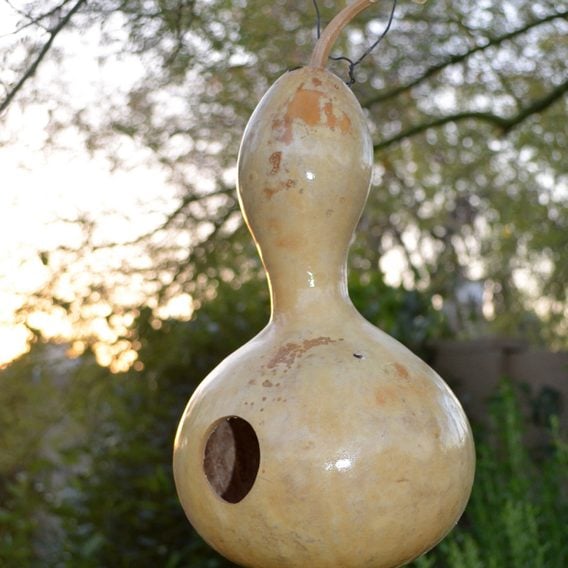
Tips for Growing Birdhouse Gourds
Learn gardening tips for growing birdhouse gourds that are perfect homes for your cavity nesting birds, such as swallows and...