
How to Dry Fruit For All Seasons

Updated: Nov. 15, 2023
Harvest seasonal fruits this summer and preserve the flavor for months! We'll show you how to dry fruit from your garden with these three simple steps.
Dried fruit is a delicious and healthy addition to granola, cereal, muffins, yogurt, desserts and savory dishes. It’s easy to pack for a work or school snack, and rumor has it that it tastes even better when you’ve made it yourself! You don’t need fancy dehydrators. All you need is something you probably already have: a gas or electric oven. We’ll show you how to dry fruit from your garden (or the grocery store) in three simple steps!
Step 1: Preparing
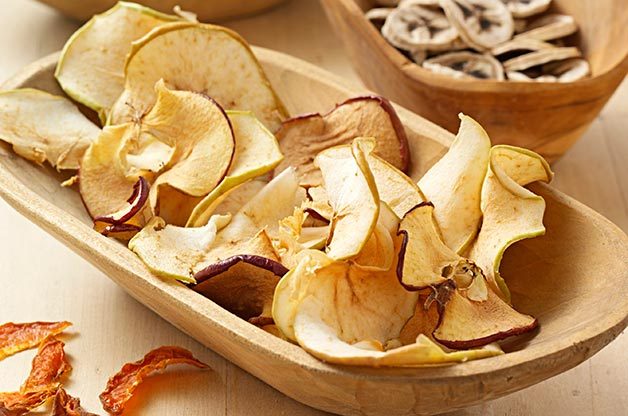
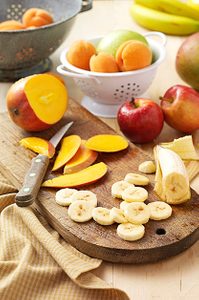
Select fruit that is ripe but not overripe and free of bruises. Apples, pears, peaches, berries, cherries, bananas and apricots all work well. Wash and peel the fruit (cherries and apricots work best if dried with the skins on). Remove pits or cores, then slice fruit to desired thickness; make sure to keep the thickness uniform.
 Step 2: Drying
Though drying fruit out in the sun may be picturesque, oven drying is simpler and quicker, and you don’t have to worry about the weather. The average kitchen oven holds about 4 to 6 pounds of fruit at a time.
Preheat the oven to 170°. Position two racks in the center of the oven. Arrange fruit slices or whole small fruits in a single layer on nonstick baking sheets, making sure the pieces aren’t touching. Put a sheet on each oven rack. Allow 1-1/2 in. on all sides of the tray so air can circulate while the fruit dries.
Keep the oven door slightly ajar during drying and stir fruit every 30 minutes. It can take anywhere from 4 to 8 hours to dry out fruit, depending on the thickness of the slices and the fruit’s water content. Properly dried fruit should be chewy, not squishy or crispy.
Step 3: Storing
Once the fruit is thoroughly dried, remove trays from the oven and let stand at room temperature for at least 12 hours before placing in storage containers.
Originally Published: August 05, 2014