
Sew a Tote Bag for Garden Tools
Updated: Apr. 24, 2020
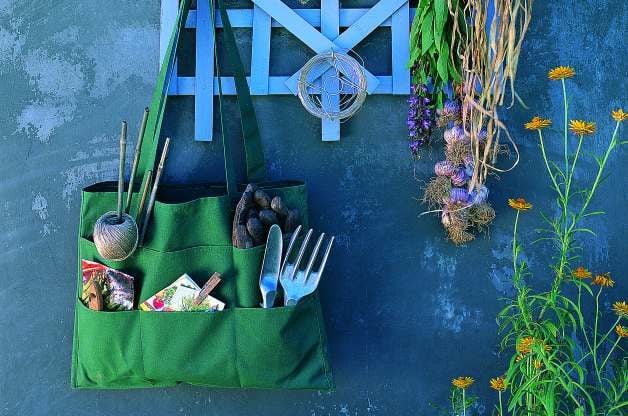
Sew your own canvas tool tote bag with this garden crafts project. Makes a great gift for gardening friends!
Need a place to store all your tools, seeds, and other gardening supplies? Sew a tote bag made of sturdy canvas, available at large fabric stores, sail makers, or upholstery fabric stores. This garden crafts project includes lots of pockets on one side and a divider compartment in the middle. Make one for yourself, and several more for friends.
You can customize the bag to your own particular needs by changing the width and number of pockets. You can also embroider or applique a friends’ name or initials on the front of the bag—in the center of the front piece where it turns up to make pockets – before you sew the pieces together.
Download a PDF of the project with diagrams by clicking here.
Materials:
- 2 feet of 72-inch-wide canvas
- scissors
- sewing machine
- heavy-duty sewing machine needle
- masking tape
- heavy-duty thread in color to match canvas
- one large heavy-duty snap
Step-By-Step Instructions:
Step 1
Cut the following pieces from the canvas (see PDF): one 8 x 20.5-inch pocket piece; one 22.5 x 20.5-inch pocket piece; one 20.5-inch back piece; and two 36 x 3-inch strap pieces.
Step 2
With the sewing machine, make a row of stitches approximately 1/2 inch from the edge of one long side of the pocket piece. Fold over at the line of stitches, press, and stitch close to the fabric edge to make a hem. Repeat this hemming process with the short edges of the front piece, turning one edge under and the opposite one up.
Step 3
Tape the pocket piece, hem turned under, to the front piece, with the top (hemmed) edges 3 inches apart, as shown in Diagram 1. Machine-stitch through both layers 1/2 inch from the bottom (raw) edge of the pocket piece.
Step 4
To form the bottom pockets, fold the front piece up 7 inches, as shown in Diagram 1. Machine-stitch close to each side edge, from top to bottom, to hold both rows of pockets in place. Stitch two rows, from top to bottom, 6 inches from each side edge, to make the pocket dividers.
Step 5
One the short sides of the back piece, stitch two hems as described in Step 2, turning both edges under. To form a divider for the inside of the bag, fold the back piece up 14 inches from the bottom hem with the raw edges of the hem in the inside. Place front and back pieces together with the divider between them and stitch together 3/4 inch from one side edge.
Step 6
Cut the edge of the front piece close to the seam and fold the edge of the back piece over narrowly, as shown in Diagram 2. Fold it over again at the row of stitching, as shown in Diagram 3, and machine-stitch through both pieces close to the folded edge of the back piece. Join the edges of the other side in the same way. Stitch along the bottom of the bag close to the edge.
Step 7
Fold the short ends of the straps under narrowly, then fold the strap pieces in half lengthwise so that each has a width of 1.5 inches. Stitch around all four sides of each strap close to the fabric edge. Position and double-stitch each strap 1 inch below the top edge of the bag and just outside the stitching of the pocket dividers, as shown in Diagram 4.
Step 8
Hand-sew the two sides of the snap in the center of the bag close to the top hem edge, one side on the front piece and the matching one on the back piece. Be sure the two pieces meet comfortably.