Dragonfly DIY Yard Art
Updated: Apr. 24, 2020
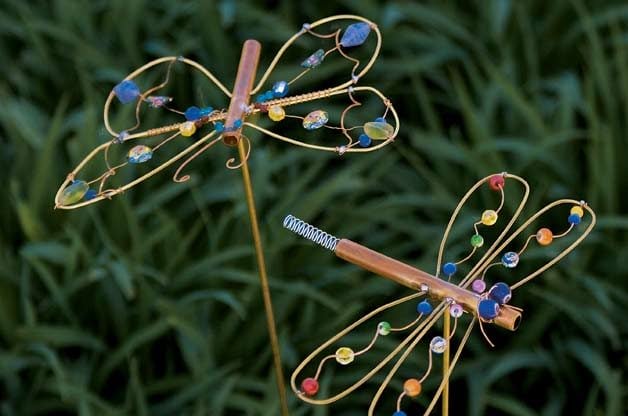
Let your imagination take off with this DIY yard art project that turns copper wire and beads into cute critters for your garden.
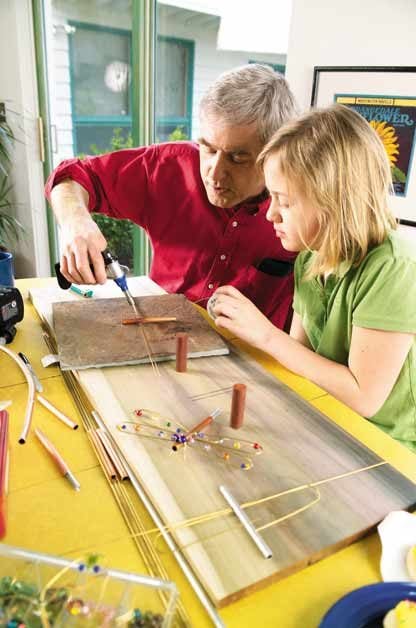
My kids love projects. And this one—which captures the delicacy and color of dragonflies in a simple garden ornament—immediately caught my daughter’s attention. Iris had been dying to work with my soldering tools. With a little coaching, she was able to assemble several dragonflies (and one butterfly) by herself. Once we finished, we poked them into our garden and stood back to admire our adorable DIY yard art bugs. She’s almost a teenager, so I couldn’t think of a better time to undertake this father-daughter project together.
Handy Hint: The only difficulty we encountered was sliding some beads onto the wings’ twisty wires. Test them first—not all the beads we wanted to use would fit.
Materials:
- 3/8-in. (outside diameter) flexible copper tubing
- 1/16-in. × 36-in. brass rod (1 length for each dragonfly)
- 1/8-in. × 36-in. brass rod (support)
- 1 roll 20-gauge copper wire
- 9/32-in.-diameter × approximately 11/2-in. spring
- Rosin-core leaded solder (for electrical and hobby work)
- Glass beads
- 6-in. wood dowel
- Superglue gel or quick-setting epoxy
- Wire cutters
- Needle-nose pliers
- Tube cutter or hacksaw
- Power drill with 1/16-in. and 1/8-in. bits
- 3/4-in. spade bit
- Mini-torch or soldering iron
- Fine steel wool
- Scrap of 3/4-in. wood
- Awl or sharp drywall screw
Step-By-Step Instructions:
Step 1
Cut copper tubing to 4 in. with a tubing cutter or hacksaw. Make slight indentations in the copper at the hole locations, using the awl or drywall screw, so the drill bit doesn’t slip when you begin drilling.
Step 2
Drill holes for the wings and eyes with the 1/16-in. bit. Drill a 1/8-in. hole in the bottom for the support rod. Drill the eyeholes from both sides rather than straight through so the eyes will be aligned.
Step 3
Cut a 3-ft. length of 1/16-in. brass rod in half and clean the rods and the body tube with steel wool. Push both rods through the middle holes, center them and solder. Touch the solder to the heated metal—a drop of solder is all that’s needed.
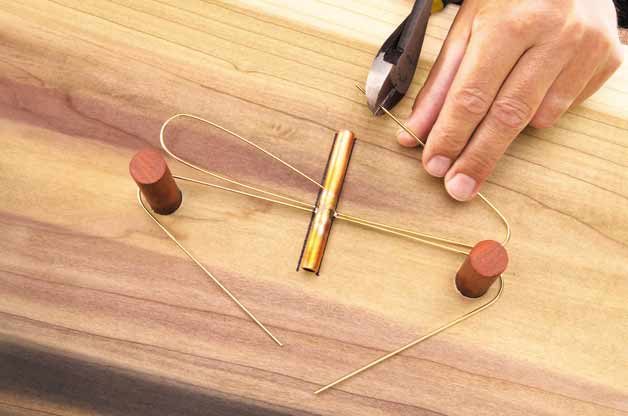
Step 4
Make a jig to form the wings on a scrap piece of wood. Drill holes, then glue and insert dowels. Mark the center, placing the body of the dragonfly between the two dowels, then bend one rod around the dowels for wings (Photo 2). Trim the ends so that they meet back in the center of the dragonfly, insert them into the proper holes and solder in place.
Step 5
Wrap about 24 in. of copper wire around the copper tubing, then stretch it out and cut it in half. Twist one end around the tip of a wing and solder it. Thread the glass beads on, then attach the other end and solder or glue the wire where it crosses the body (Photo 3). Glue the beads in place.

Step 6
Insert a 6-in. length of wire through the eyeholes. Slide two eye beads on, cross the wires and wrap them once around the body. Bend excess wire into legs and solder the wire at the bottom.
Step 7
Glue the spring to the tail of the dragonfly. (If you can’t find this size spring, make your own by coiling the copper wire around a 1/4-in. machine bolt.)
Step 8
Solder the 1/8-in. brass rod in the hole on the bottom side of the body. Push the rod into the ground—and watch your dragonfly hover all year long!