
Clay Pot DIY Birdhouse
Updated: Mar. 14, 2023
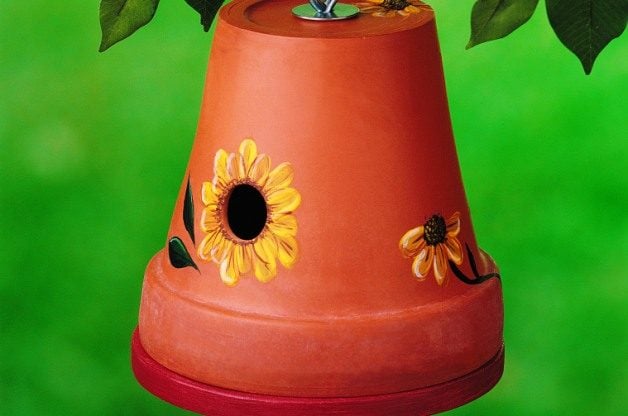
Learn how to make a DIY birdhouse perfect for wrens and other small birds using a clay flower pot.
Because this DIY birdhouse is small, it’s perfect for hanging in the thick vegetation that wrens prefer. In a few simple steps, you can learn how to make a birdhouse like this one, painted to suit your own garden style!
The only difficult part of this project is making the entrance hole in the flowerpot. The hole should be 1 inch in diameter, or as veteran wren house builders say, “large enough for a quarter to pass through”. Glass drill bits work best for drilling into the clay, but masonry bits work almost as well. If you don’t have either, don’t worry—regular drill bits will do the job, too. They’ll just need sharpening after you’re finished. But if you think you can take a shortcut by using a spade bit, don’t try it. You’ll end up with a broken pot.
Psst! Learn how to make a DIY coffee can birdhouse, too.
Materials:
- 8-inch clay flowerpot
- 10-inch x 10-inch piece of plywood at least 1/4 inch thick
- One 8-inch eyebolt and nut
- Two fender washers
- Hook or chain for hanging birdhouse
- Rat-tail file
- Power drill
- Half-round file
- Saber saw
Step-By-Step Instructions:
Step 1
Locate the entrance hole and use a small drill bit (1/8 inch or less) to start a hole at its center. Then work your way up to larger bits, gradually enlarging the hole. Here are some suggestions that may help:
- Use a slow speed while drilling.
- Wipe the bit often with a damp rag to clean it. (Keep electric drills away from water!)
- Do not use force as you drill.
Step 2
Once you’ve used your largest drill bit, it’s time to test your patience-the rest of the hole will be enlarged by hand with a rat-tail file and finished with a half-round file. This may take up to 30 minutes. There’s a secret to making steady progress-keep your file clean. Tapping or brushing out the dust won’t be enough; you’ll need to rinse the file in a bucket of water before continuing.
Once the entrance is just large enough to pass a quarter through, the most difficult work is finished. But be careful…this is no time to accidentally drop the flowerpot!
Step 3
Trace the open end of the pot on a piece of 1/4-inch or thicker plywood to make the floor to the house. (Be sure to use plywood and not particle board, which soaks up water like a sponge.) Cut the circular base with a saber saw about 1/4 inch wider than the guideline. In the center of the plywood base, drill a hole large enough for the eyebolt to pass through.
Step 4
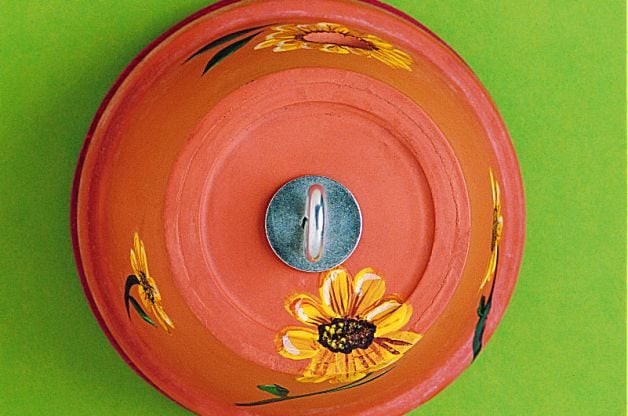
Set the flowerpot upside down on top of the plywood base. Slip a fender washer onto the eyebolt and pass it through the pot’s drainage hole and through the plywood base. Slip another washer over the end of the eyebolt and secure it with a nut. (Be careful not to over-tighten the nut – you might break the pot.)
Step 5
Now your DIY birdhouse is ready to hang! Using a hook or chain, suspend the house from a sturdy support 5 to 10 feet above the ground, preferably in an area with plenty of low growth. Then wait for your new feathered tenants to arrive!
