
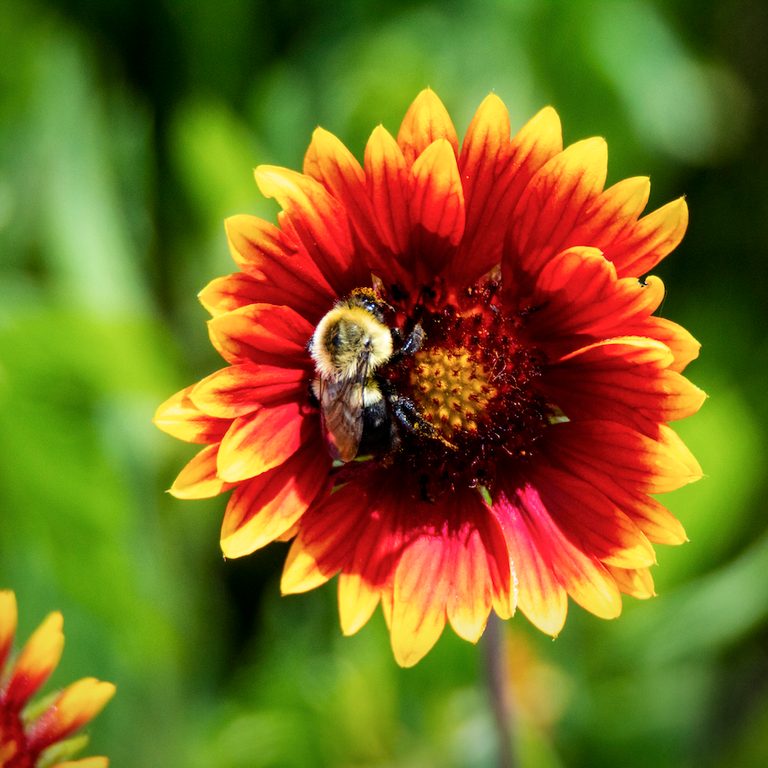
Native Blanket Flower Blankets Gardens in Bold Color
Blanket flower is a native wildflower that is easy to grow from seed. It is reliable and adaptable, and will fill your garden with beauty.
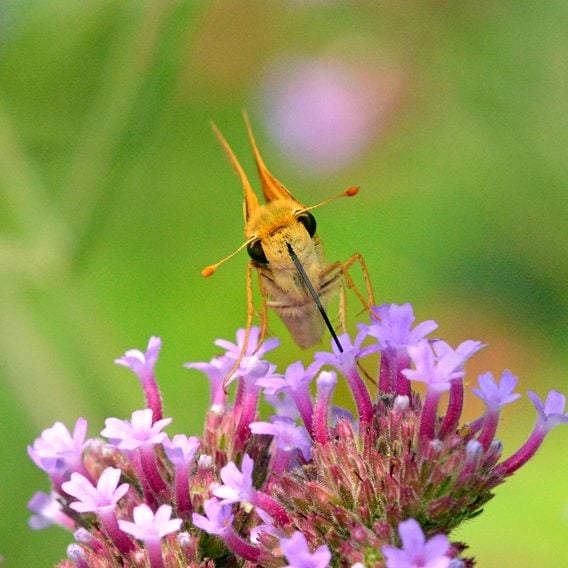
Meet the Tiny Fiery Skipper Butterfly
Meet the fiery skipper: one of the smallest butterflies in the skipper family. Plus, learn about fiery skipper caterpillars and...
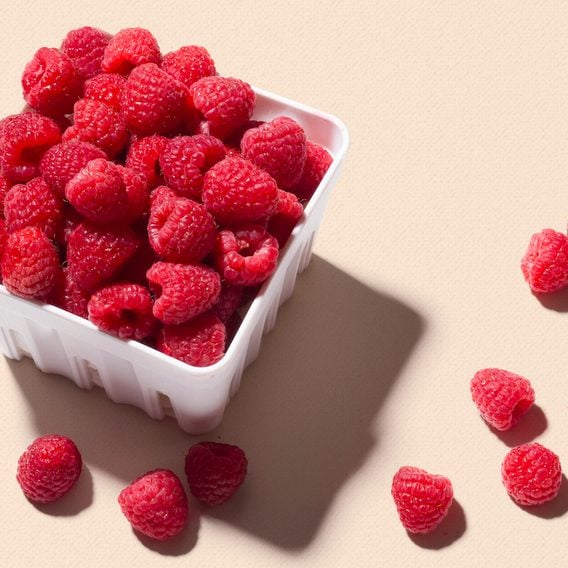
7 Fascinating Berry Facts You Need to Know
Brush up on your berry facts and boost your knowledge of the fruits you love! Learn which fruits are (and...
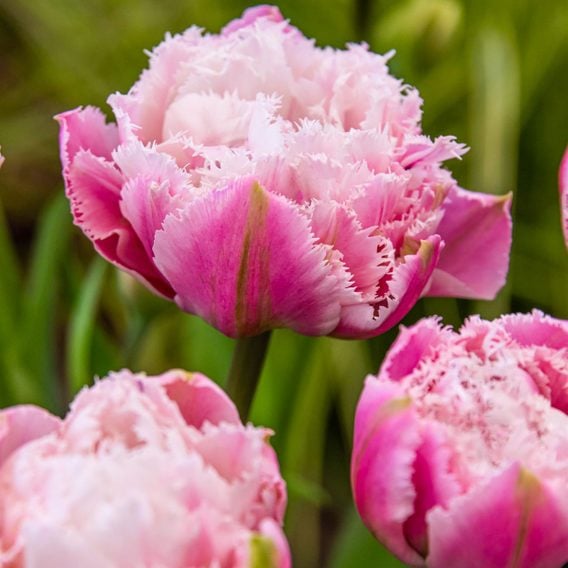
Grow Sugar Crystal Double Tulips for Fringed Flowers
These fringed, double tulips bring on the frills and ruffles with pink flowers that bloom in late spring. They're ideal...
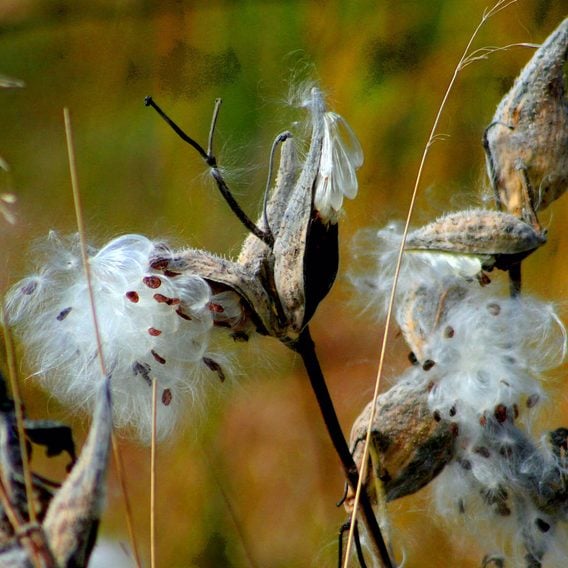
How to Save and Plant Milkweed Seeds From Pods
Milkweed seeds are tricky to grow. Learn how to save seeds from milkweed pods and when to plant milkweed seeds...
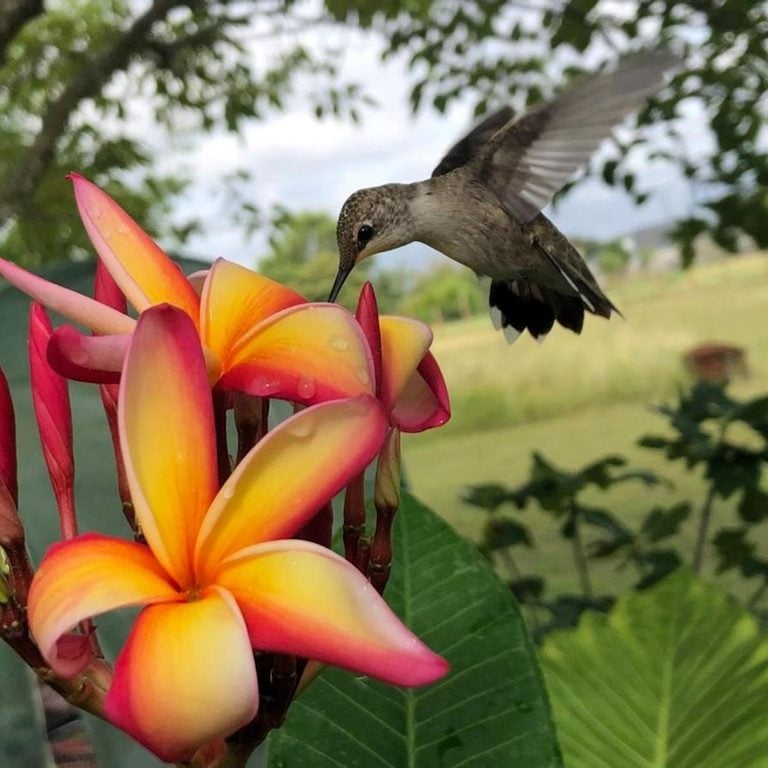
How to Grow Tropical Plumeria Flowers (Frangipani)
Get plumeria care and growing tips, including watering and overwintering. This tropical plant is fragrant and a good choice for...
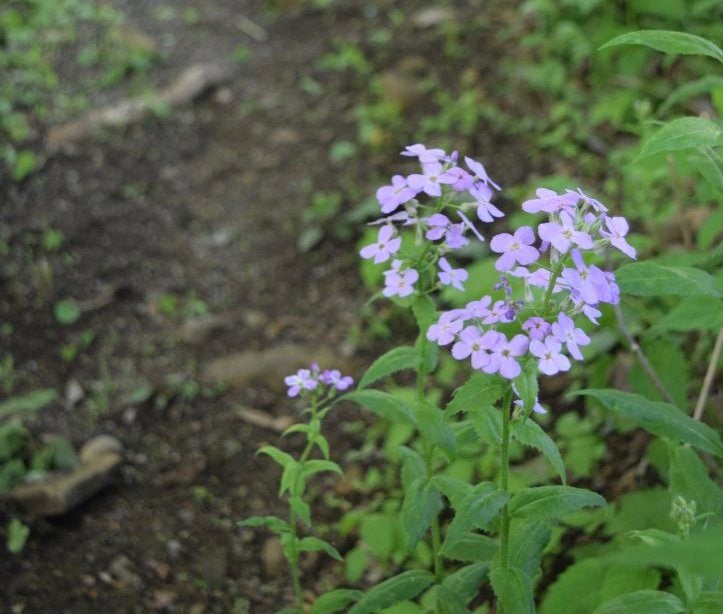
Dame’s Rocket Vs. Phlox: What’s the Difference?
Despite showy similarities, one of these plants is invasive. Learn how to tell the differences between dame's rocket vs phlox.
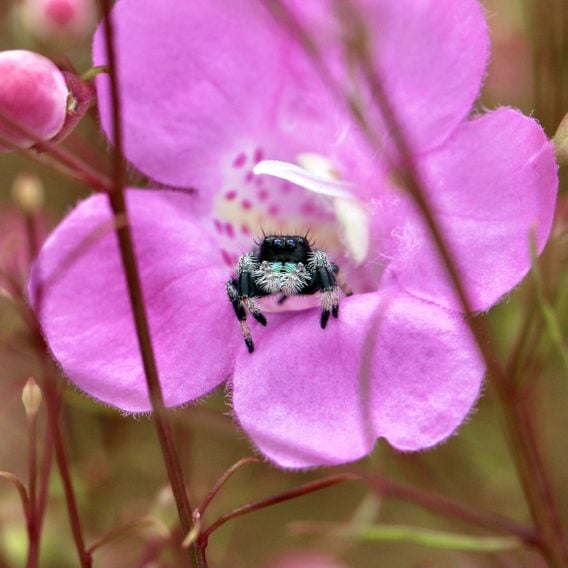
25 Pictures That Will Change How You See Bugs
Never think of bugs as creepy or crawly again! These bug pictures show how amazing (and beautiful) these creatures really...
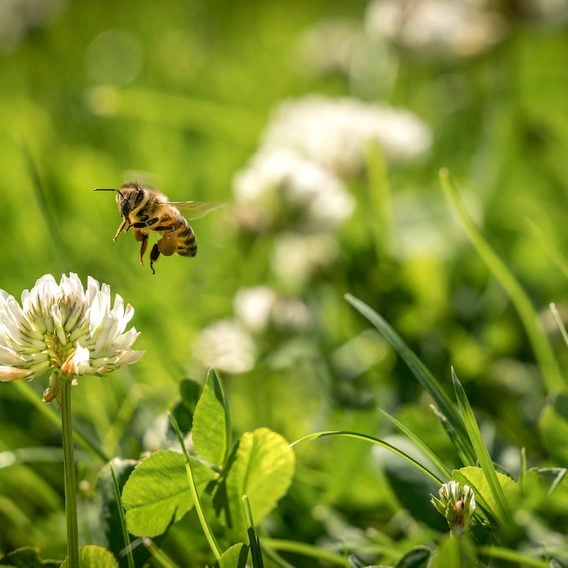
Does No Mow May Really Help Pollinators?
No Mow May has been gaining ground. Here’s what you should know before letting your lawn grow wild—including the benefits...
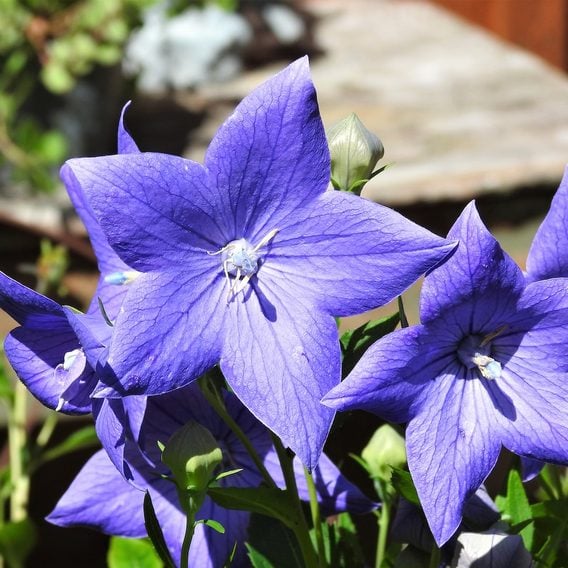
Balloon Flower Care and Growing Tips
Blueish-purple balloon flower is well suited for growing in almost any garden. This pretty perennial needs little care to thrive.
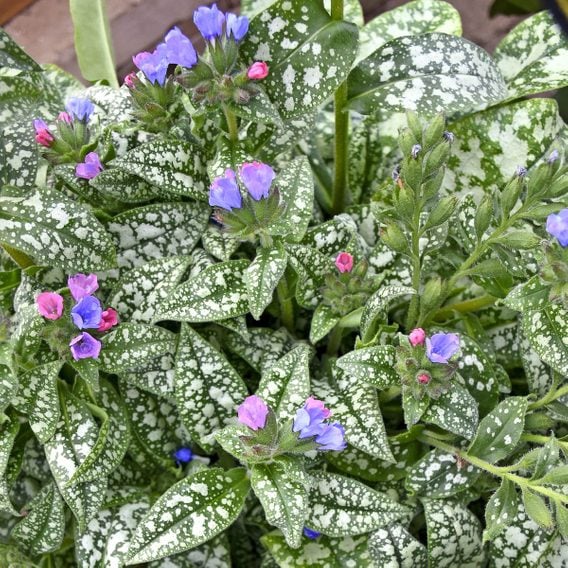
Lungwort (Pulmonaria) Flower Care and Growing Tips
A pollinator pleaser and delight for shady, moist areas, here's how to successfully care for lungwort (Pulmonaria) in your garden.
How to Grow Common Foxglove (Digitalis) Plants
If you decide to bring common foxglove into your backyard garden, there are a few things to keep in mind.
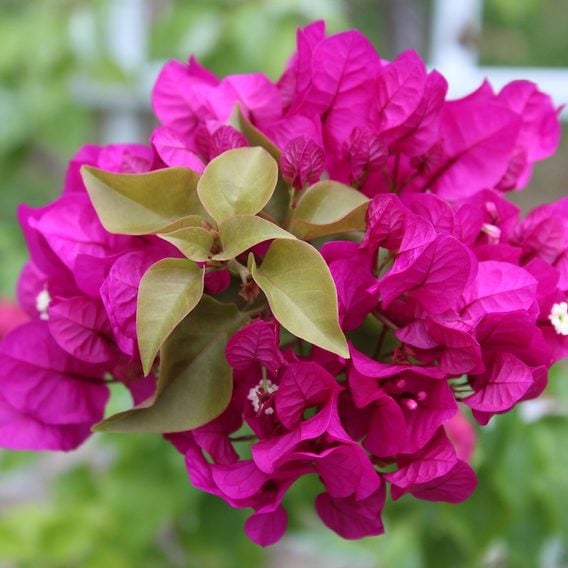
Grow Bougainvillea for Tropical Color in Any Garden
Though it's a tropical plant, grow bougainvillea in areas where it is not hardy as an annual or in containers,...
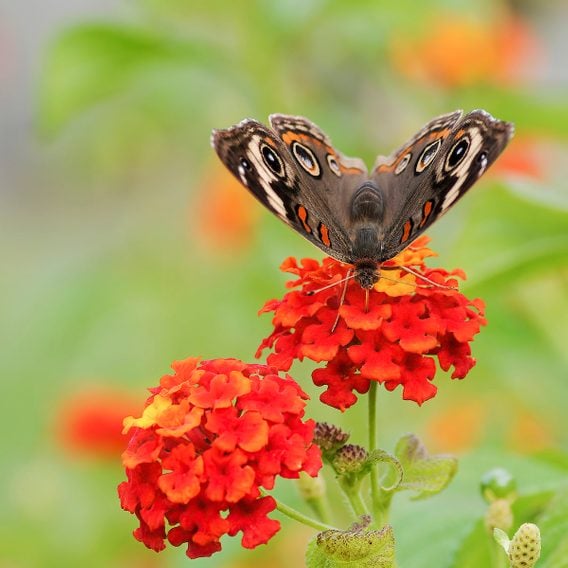
Lantana Flower Brings Easy Color to Beds and Containers
Discover how to grow vibrant lantana flower for long-lasting color that draws hummingbirds and butterflies like a magnet.
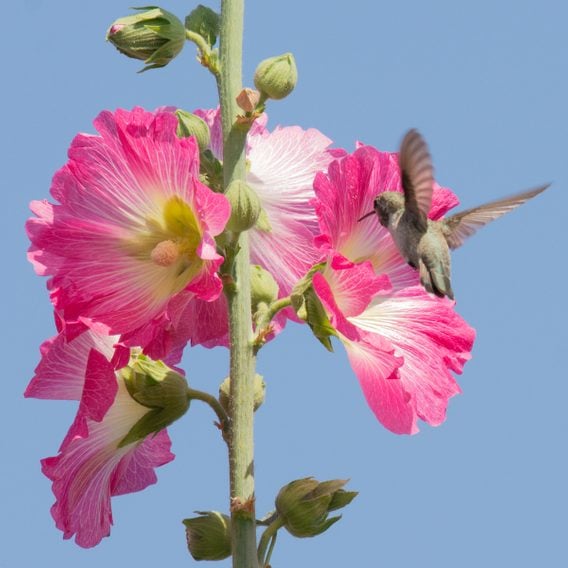
How to Grow Hollyhocks (Alcea) in Your Flower Garden
Hollyhocks are old-fashioned flowers, typical of the "cottage garden" style. Known for their height, hollyhocks create walls of color.
Help the Native Bees in Your Backyard
Learn important facts about native bees. Plant your garden with native bees in mind and help these powerful pollinators thrive.
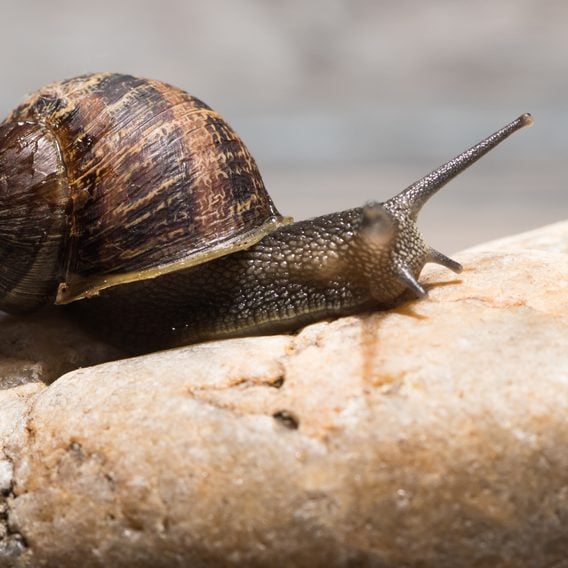
8 Surprising Snail Facts You Should Know
Learn about snails with a roundup of snail facts. Discover what snails eat, when they get shells, how long they...
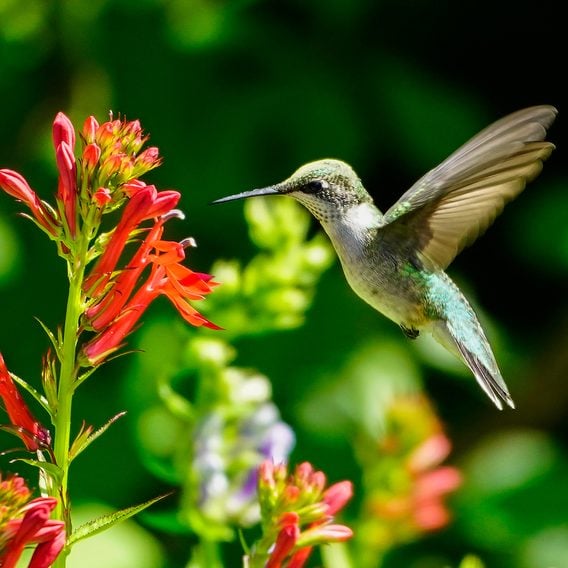
Lobelia (Cardinal Flower) Attracts Butterflies and Hummingbirds
Cardinal flower is a good native plant for a pollinator garden with moist soil. Butterflies and hummingbirds flock to lobelia's...
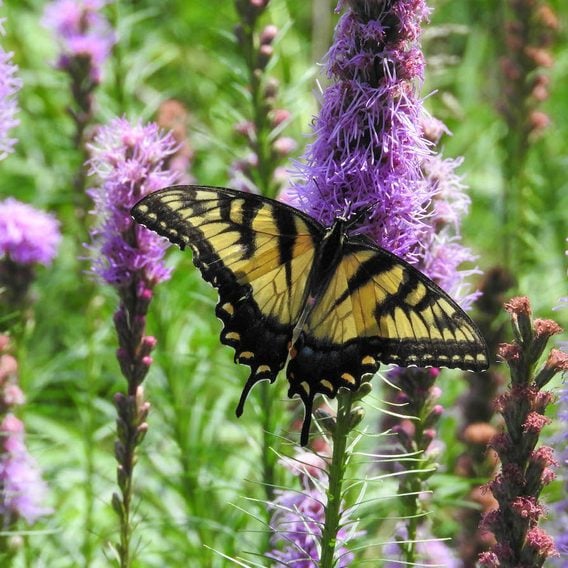
Add Native Liatris (Blazing Star) to Butterfly Gardens
Funky purple spires of liatris or blazing star attract butterflies. This native plant blooms into early fall, providing late-season nectar.
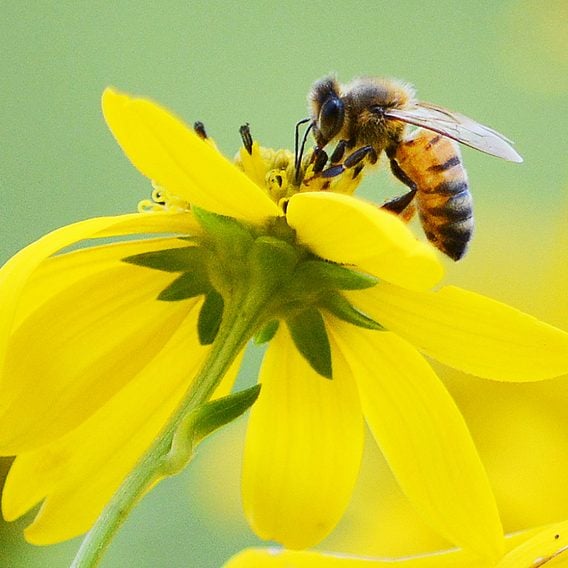
8 Sweet Honey Bee Facts You Should Know
Get the buzz with amazing honey bee facts. Get answers to frequently asked questions about these honey producing pollinators.
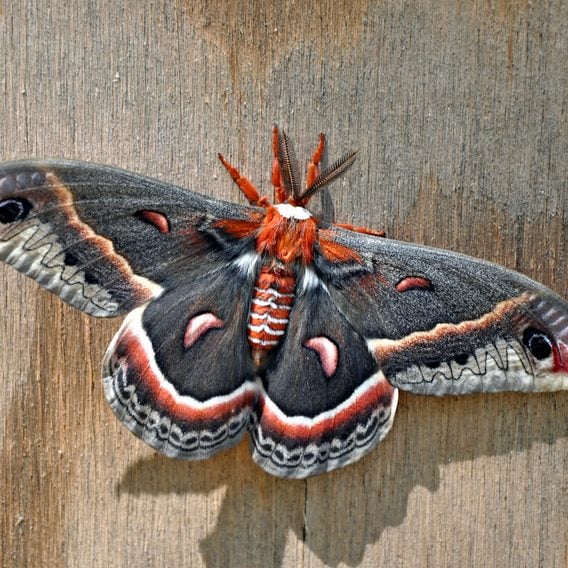
6 Fascinating Cecropia Moth Facts
A cecropia moth is hard to miss in the garden. Learn facts about one of the largest and most beautiful...
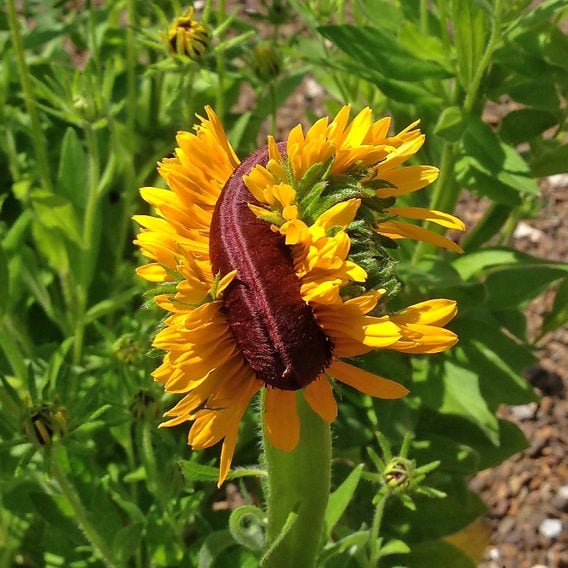
Fasciation in Plants: What You Need to Know
Fasciation is a unique mutation that produces unusual flowers, but does it harm the plant? Find out the cause and...
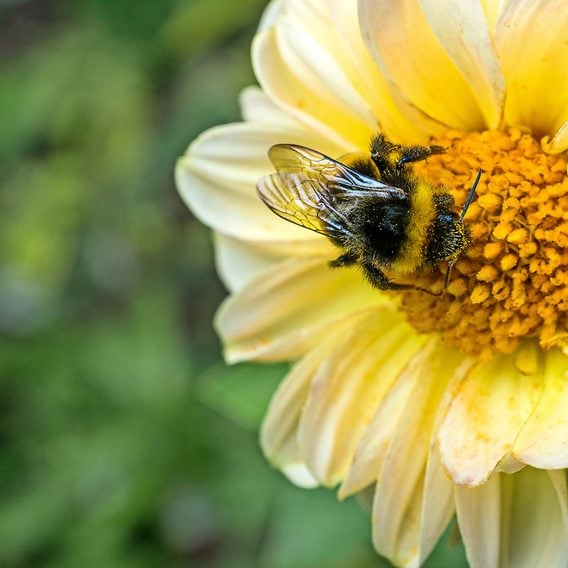
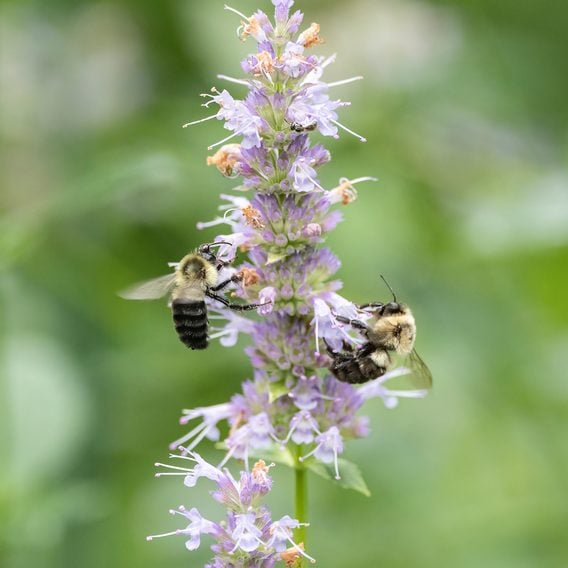
9 Fascinating Bumblebee Facts You Should Know
Get to know interesting bumblebee facts, including where these important pollinators live and if all bumblebees have a stinger.
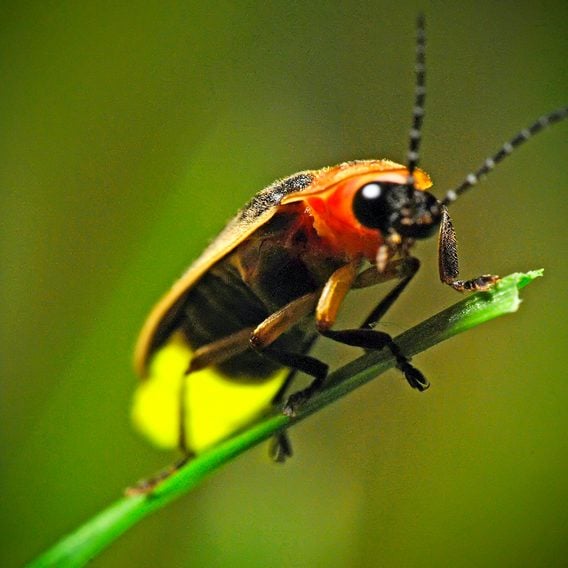
Illuminating Lightning Bug Facts You Didn’t Know
Get answers to common lightning bug questions. Find out why lightning bugs light up, when lightning bugs come out and...
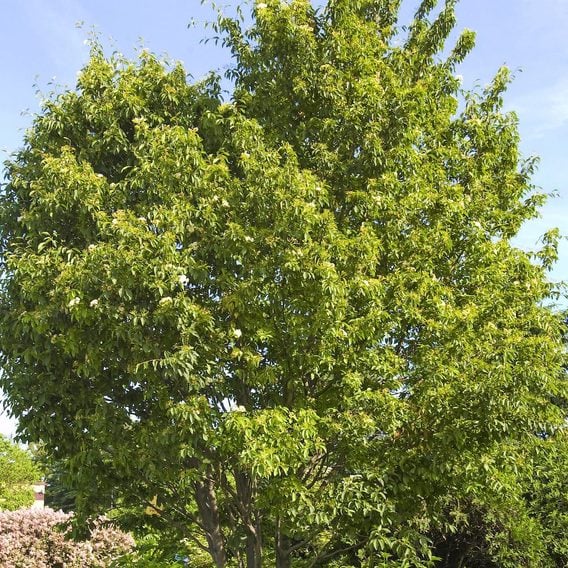
Top 10 Fast Growing Trees for Your Yard
Plant these fast growing trees for beauty, shade and wildlife benefits. You'll be rewarded with good looks and quick results.

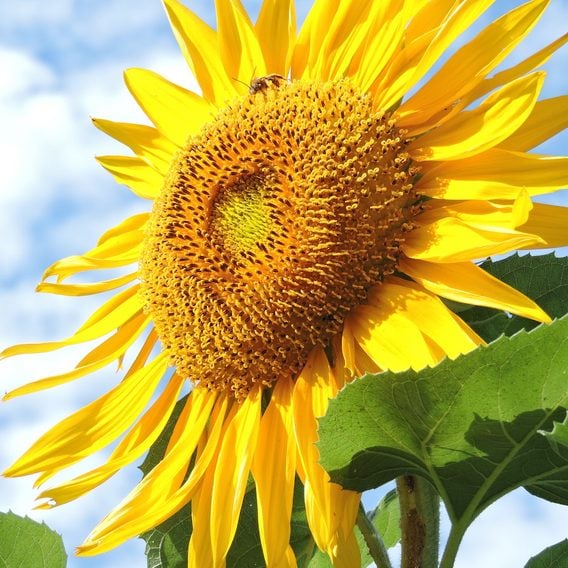
Attract More Backyard Birds by Growing Sunflowers
Save money feeding songbirds by growing sunflowers. After the sunny flower petals fade, sunflower seeds feed hungry birds.
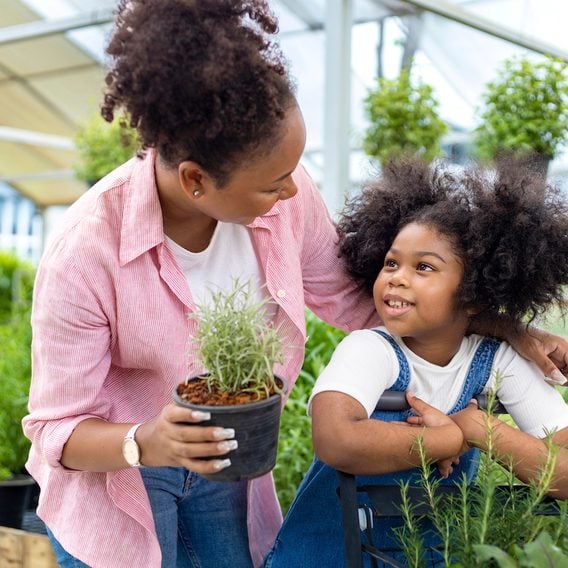
Read This Before Buying a Plant at the Garden Center
If you have questions about buying a plant at the garden center, use these tips to get the most bang...
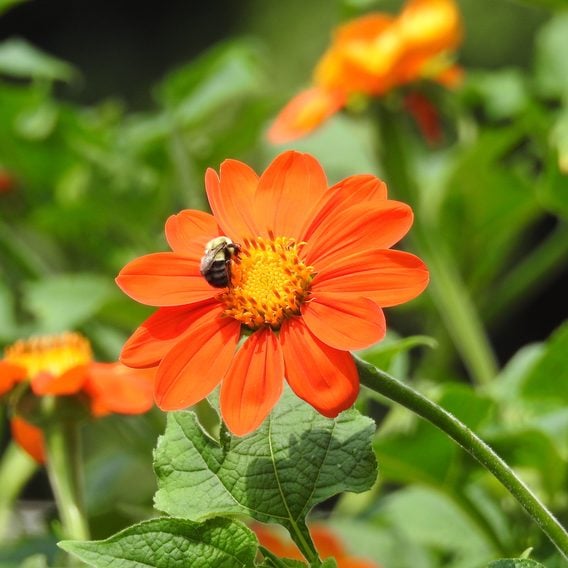
Grow Mexican Sunflower in Pollinator Gardens
Easy-to grow Mexican sunflower is a pollinator champion. Boost your mood and support bees, butterflies and hummingbirds with colorful blooms.
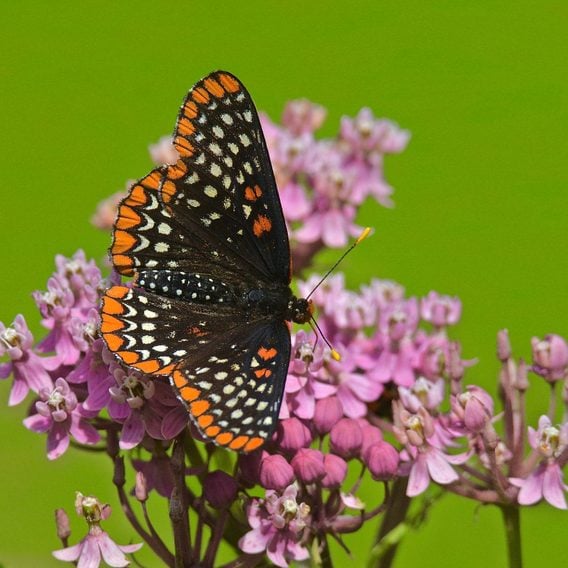
How to Identify a Baltimore Checkerspot Butterfly
See what Baltimore checkerspot butterflies and caterpillars look like. Plus, learn which host plants you should grow to support this...
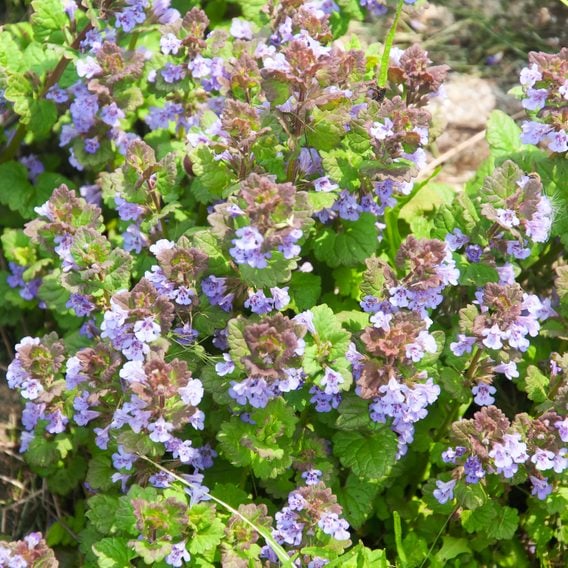
Keep Creeping Charlie (Ground-Ivy) out of Your Yard
Creeping Charlie is a weed that can quickly invade yards and flower gardens. Learn how to manage this aggressive weed.
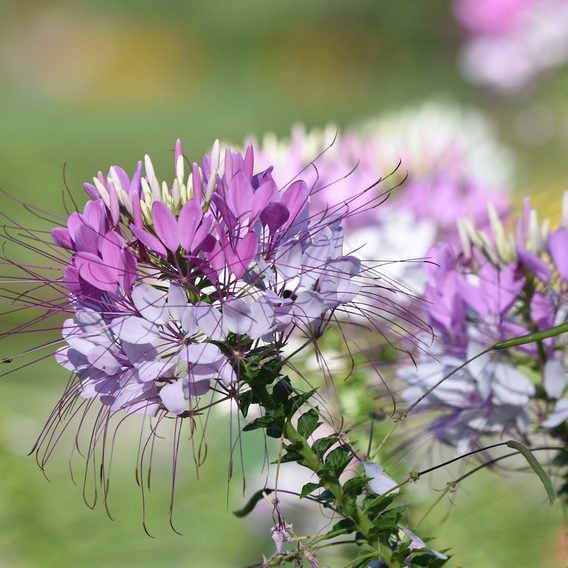
Cleome (Spider Flower) Care and Growing Tips
Invite hummingbirds, bees, and butterflies to your flower garden by growing cleome: a unique, drought-tolerant annual plant.