
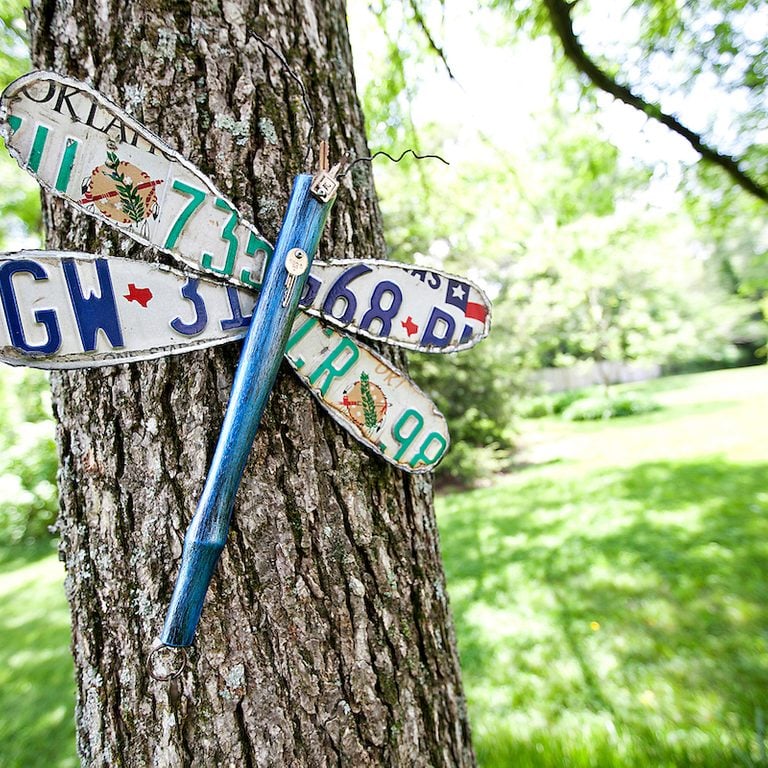
DIY License Plate Dragonfly Project Idea
Repurpose found or discarded items into a funky DIY license plate dragonfly garden art project for your backyard.
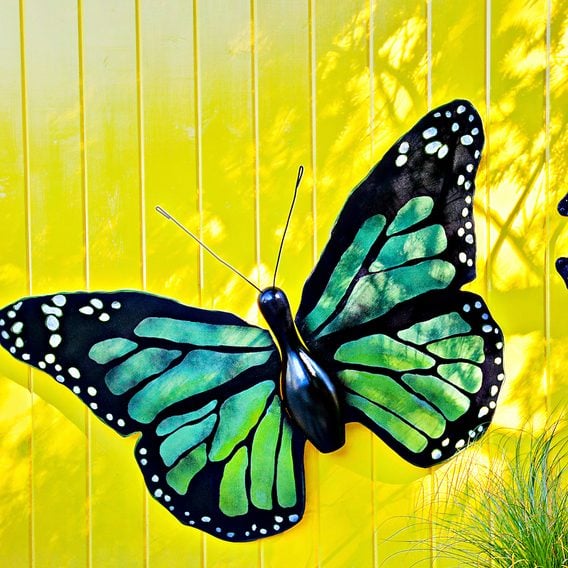
DIY Bowling Pin Butterfly Garden Art
Butterfly lovers will adore this DIY bowling pin butterfly garden art project. Experiment with a variety of vibrant wing colors...
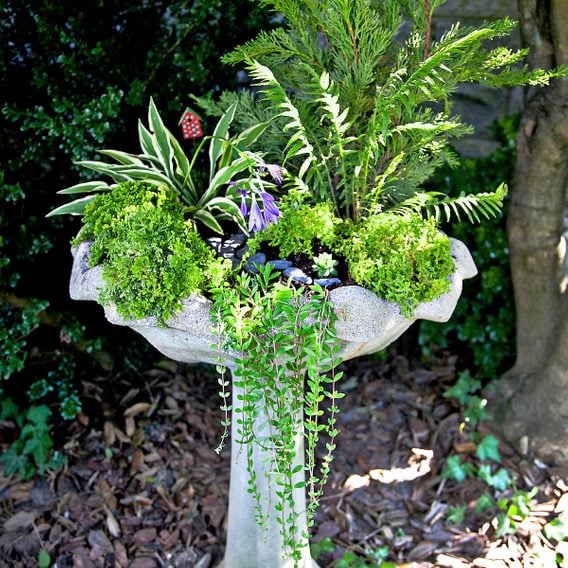
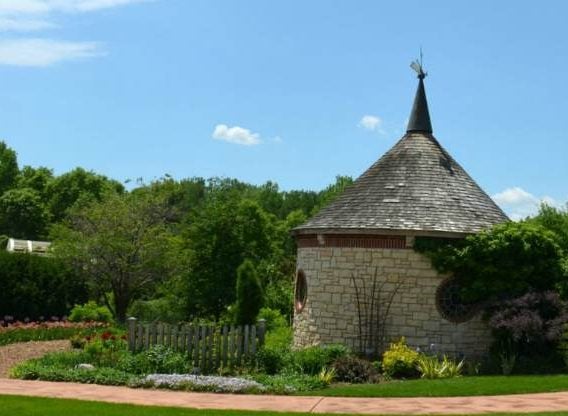
Make a Mini Fairy Garden in a Birdbath Planter
Transform an old birdbath into a planter using succulents and other miniature plants, plus fairy garden decorations.
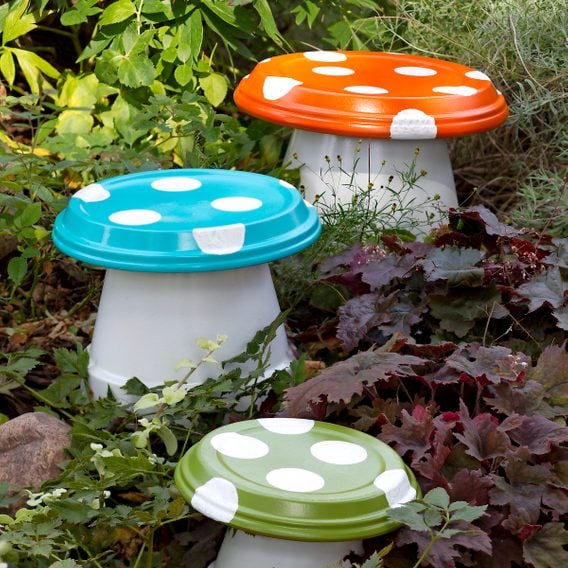
DIY Painted Garden Mushrooms Project
Dress up your yard or porch with these quick and easy decorative DIY garden mushrooms. This project is simple so...
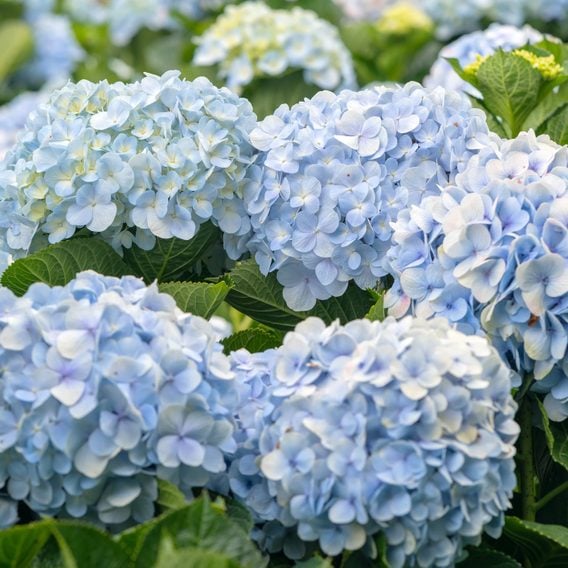
How to Dry Hydrangeas So You Can Enjoy Them Year-Round
It's easier than you think!

5 DIY Holiday Gift Ideas From the Garden
If you love gardening, give a personal gift for friends and family. Make one or more of these creative DIY...
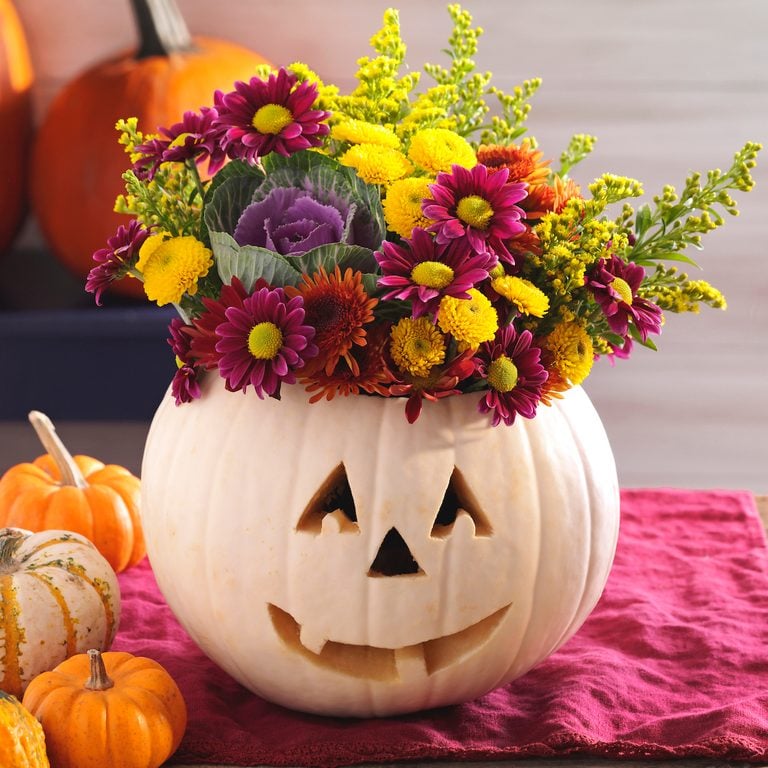
Fall Decorating: Fill a Pumpkin With Flowers
Jazz up your front porch with a pumpkin bouquet! Learn how to fill a pumpkin with flowers and make a...
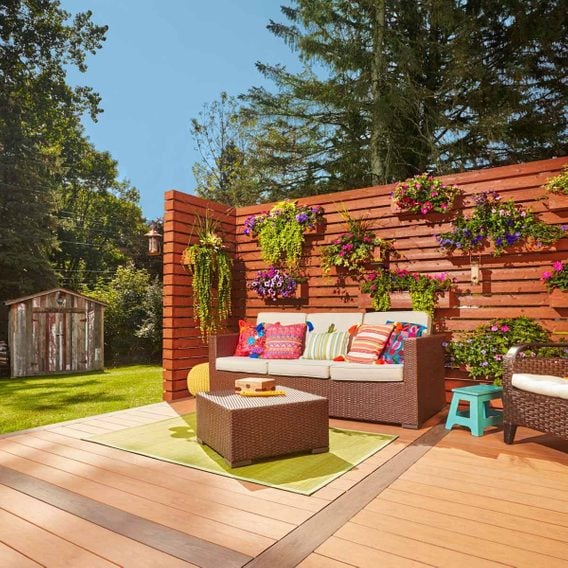
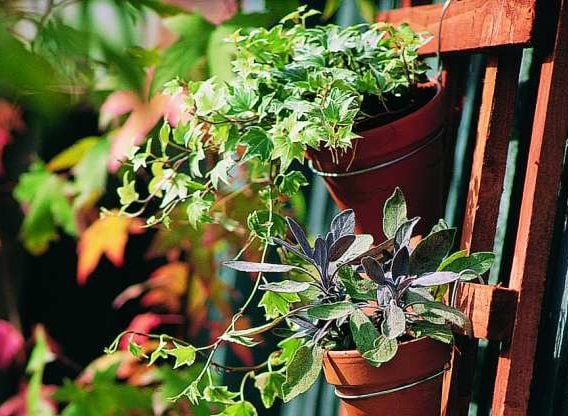
You’ll be Amazed by These Pinterest-Worthy Vertical Garden Ideas
Your passion for planting has nowhere to go but up when you reach the creative heights these vertical gardening ideas...
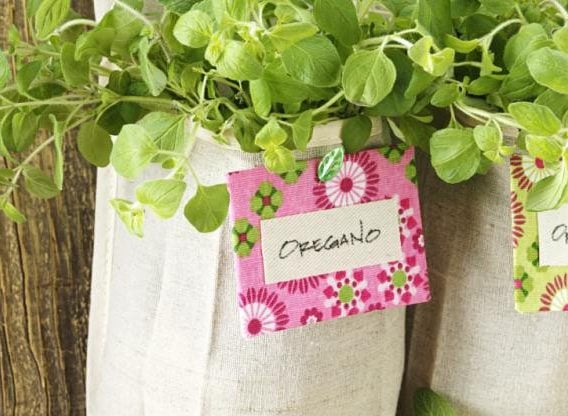
Grow a Vertical Herb Garden in a Shoe Organizer
Running out of garden room? This space saving gardening project will have you growing a vertical herb garden in no...
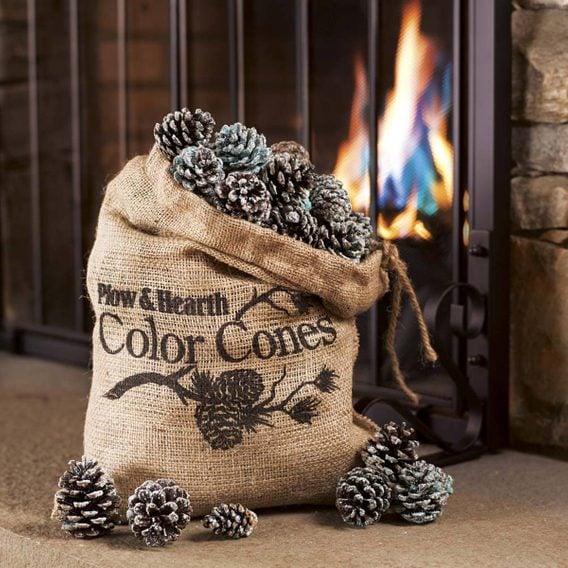
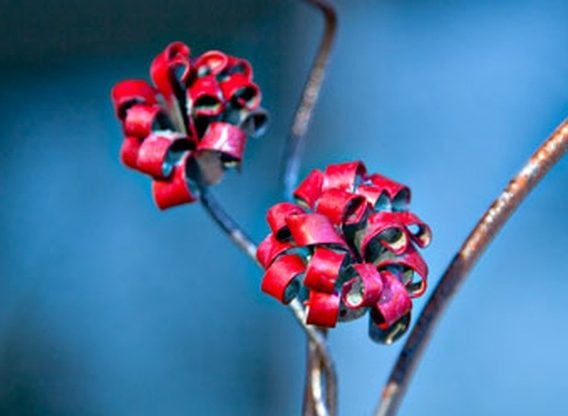
Make Your Own Color-Changing Fireplace Pinecones
We love the look of color-changing fireplace pinecones. Learn where to buy them or follow this easy DIY method to...
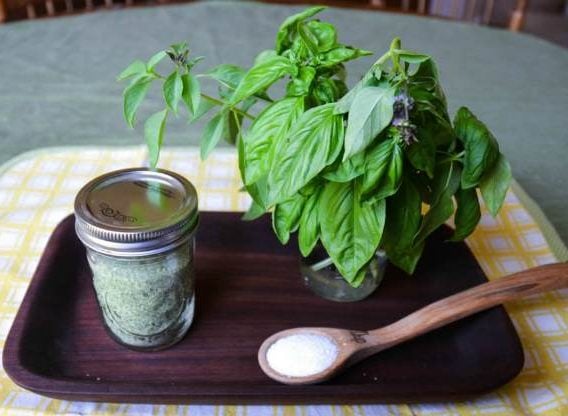
DIY Garden Project: How to Make Basil Salt
Do you love basil? Turn your favorite herb into a DIY gift from your vegetable garden. Learn to make basil...
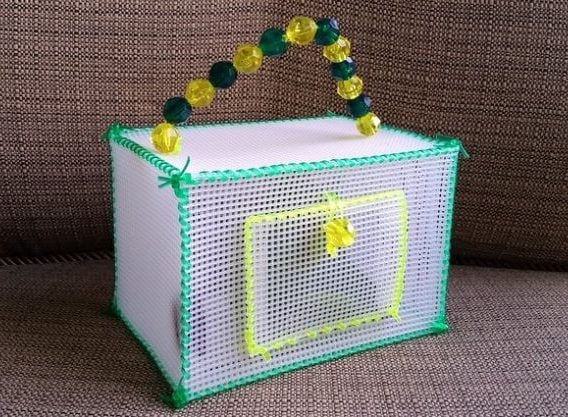
DIY Bug Box Plastic Canvas Craft
Create a DIY bug box for collecting caterpillars or lady bugs with this plastic canvas craft project.
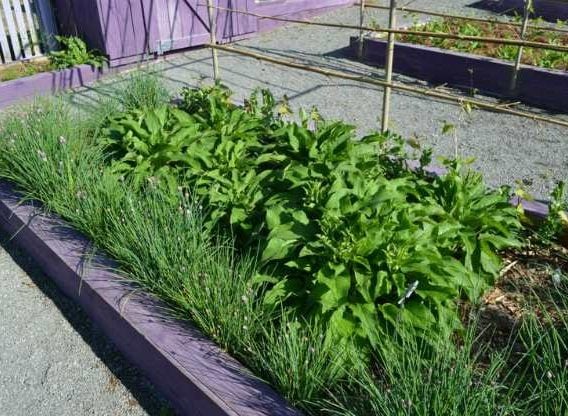
Backyard Project: Add Color to the Outdoors With Milk Paint
Painting raised beds, borders and even compost bins with eco-friendly milk paint is a fun and easy backyard project that...
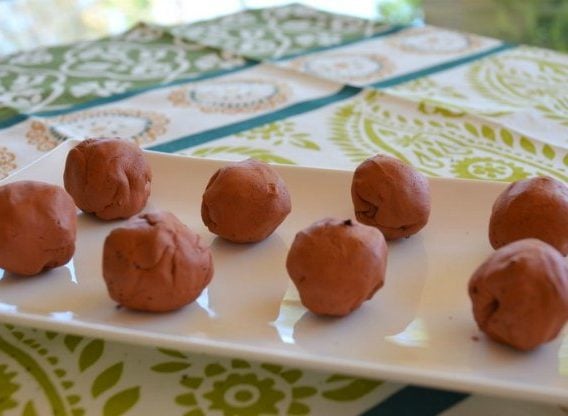
Easy Gardening Idea: Creating Seed Balls
Seed balls or 'seed bombs' are the newest, easy gardening idea. Throw them out into a bare area in your...
DIY Yard Project: Make a Trellis From Tree Branches
Need a trellis for a favorite vine? Create your own rustic trellis using tree branches in our latest diy yard...
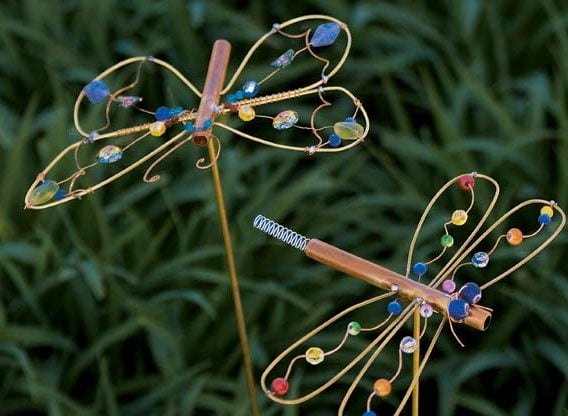
Dragonfly DIY Yard Art
Let your imagination take off with this DIY yard art project that turns copper wire and beads into cute critters...
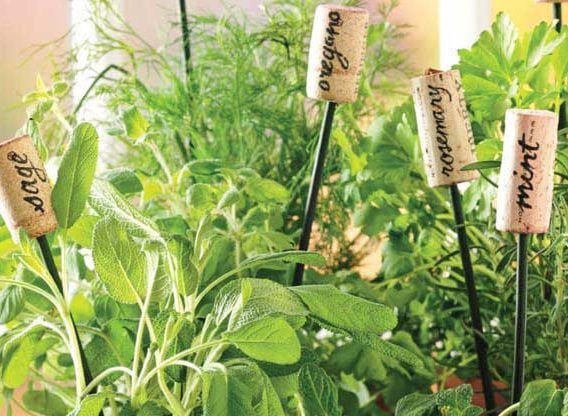
Garden DIY Herb Markers
We love this project because it’s an excuse to buy more wine! Just save your corks to use as Garden...
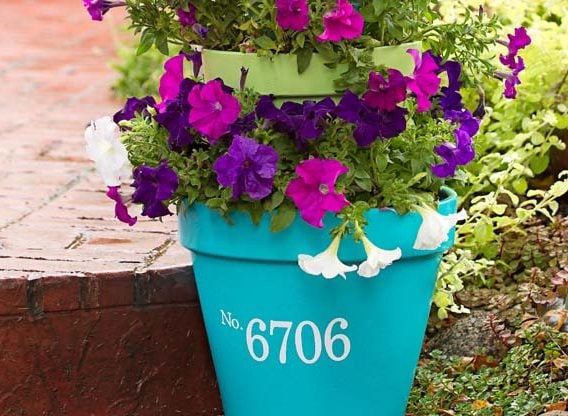
3-Tiered Stacked Planter
Give your front porch a fresh and colorful facelift with this stacked planter project.
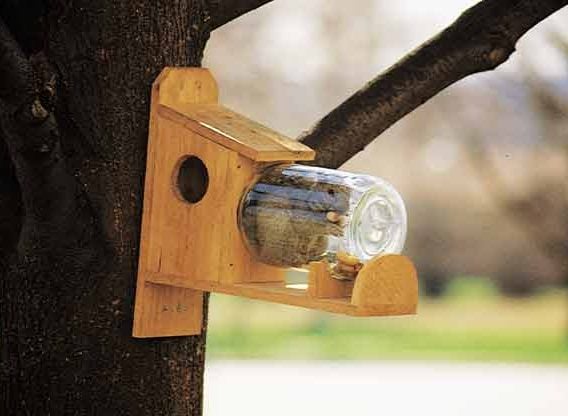
How to Make a DIY Squirrel Feeder
Most people enjoy the antics of squirrels in their backyard. This DIY Squirrel Feeder provides an unusually clear view of...
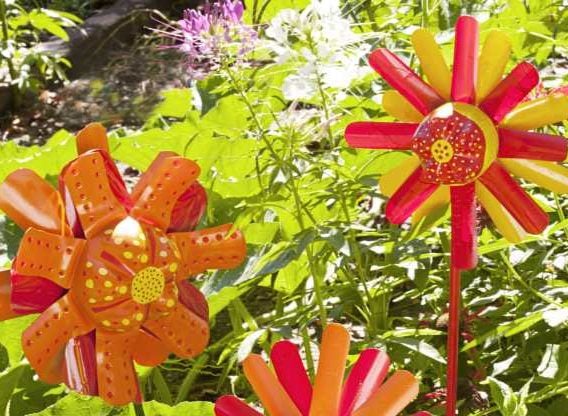
Plastic Bottle Crafts: Garden Flowers
Pull a few plastic bottles out of the recycling bin, and create these easy garden flowers!
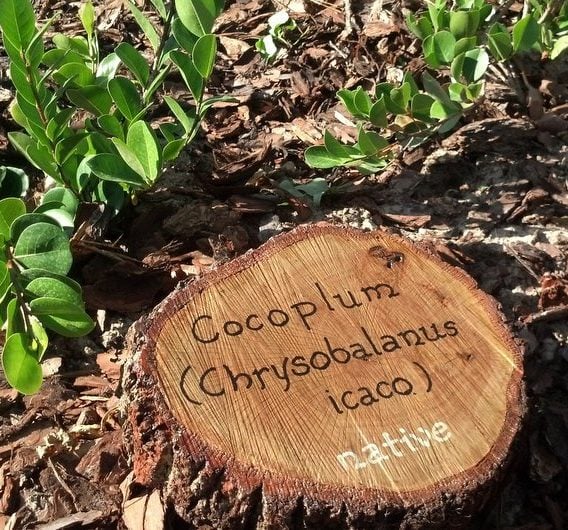
DIY Garden Signs from Tree Rounds
Use slices cut from a fallen limb or tree trunk to create DIY garden signs or tree cookies to identify...
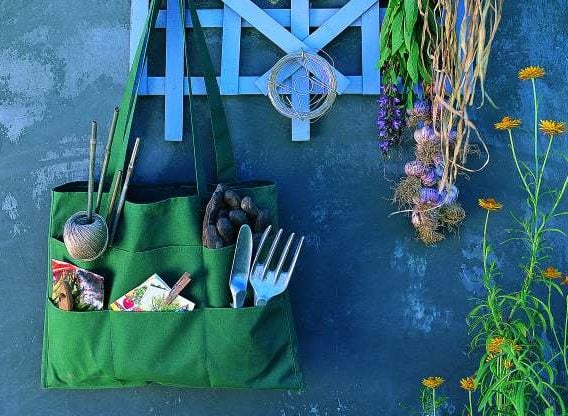
Sew a Tote Bag for Garden Tools
Sew your own canvas tool tote bag with this garden crafts project. Makes a great gift for gardening friends!
How to Make Metal Flowers
Looking for garden crafts ideas? Learn how to make metal flowers to accent your garden or home.
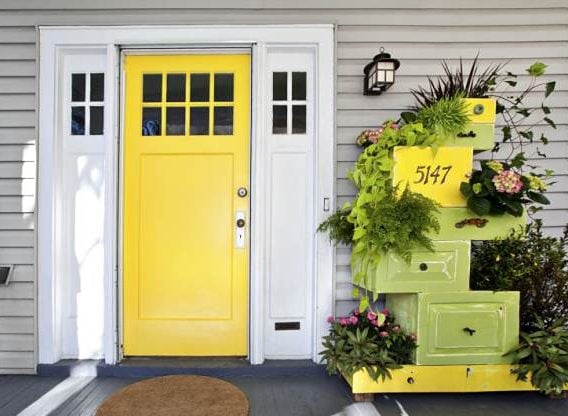
Dresser Drawer Recycled Garden Project
Looking for vertical garden ideas? Try using dresser drawers! We’ll show you how with this recycled garden project.

DIY Rain Chain Using Spoons
Recycled crafts are all the rage, and our DIY rain chain project using old spoons is practical and fun!

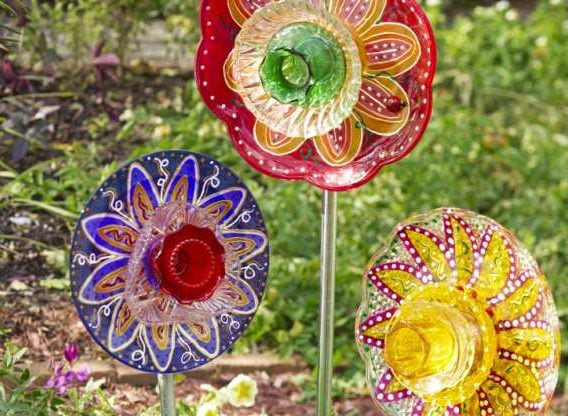
DIY Glass Garden Flowers
Learn how to make glass garden flowers from old plates, bowls, candleholders, and more.
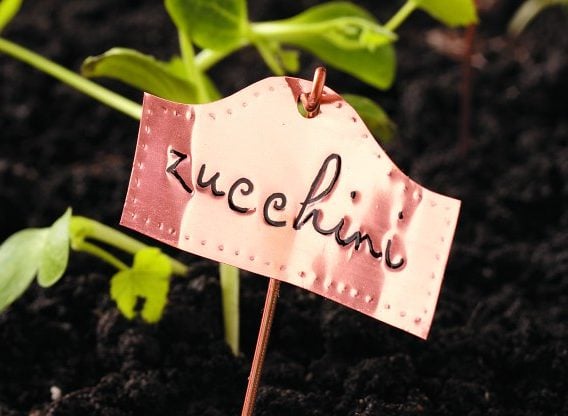
DIY Copper Plant Markers
These DIY plant markers made of copper will last for years.
Clay Pot Trellis
Add clay pots to a wooden garden trellis, and you can switch out the plants to suit the seasons!
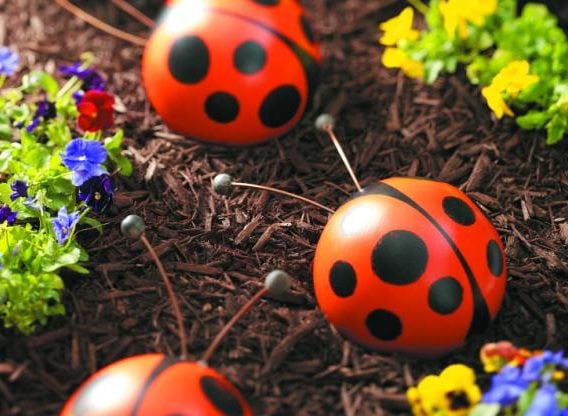
Bowling Ball Garden Art Ladybug
Recycle an old bowling ball into a ladybug (or three!) with a little paint and a few supplies. This bowling...
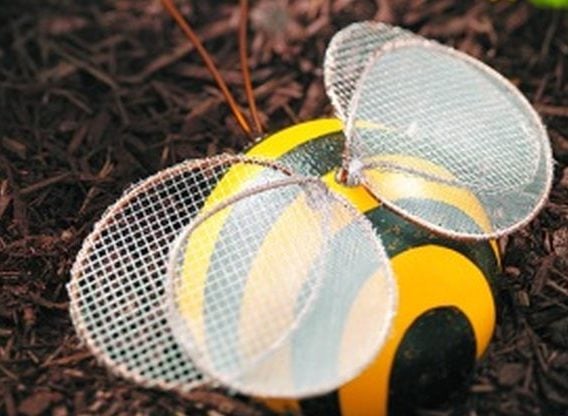
Bowling Ball Garden Art Bumblebee
Recycle an old bowling ball into a bumblebee with this bowling ball garden art project!
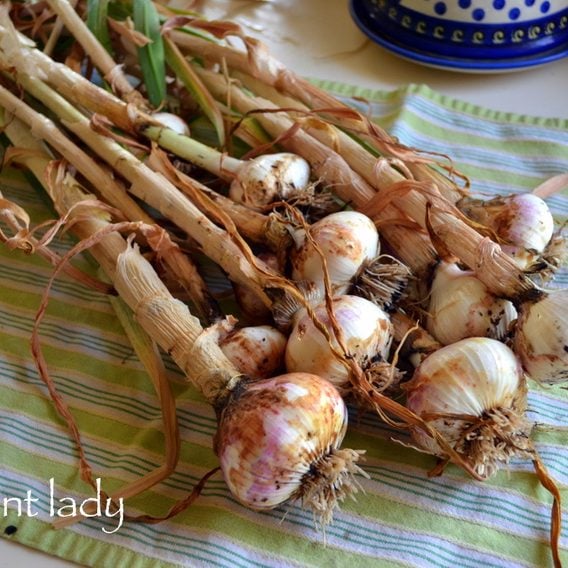
Make a DIY Garlic Spray to Keep Bugs Away
Learn how to make an organic DIY garlic spray that will deter and eliminate damaging garden insects.